Simple Classic Lemon Bars
This post may contain affiliate links. Please read my disclosure policy.

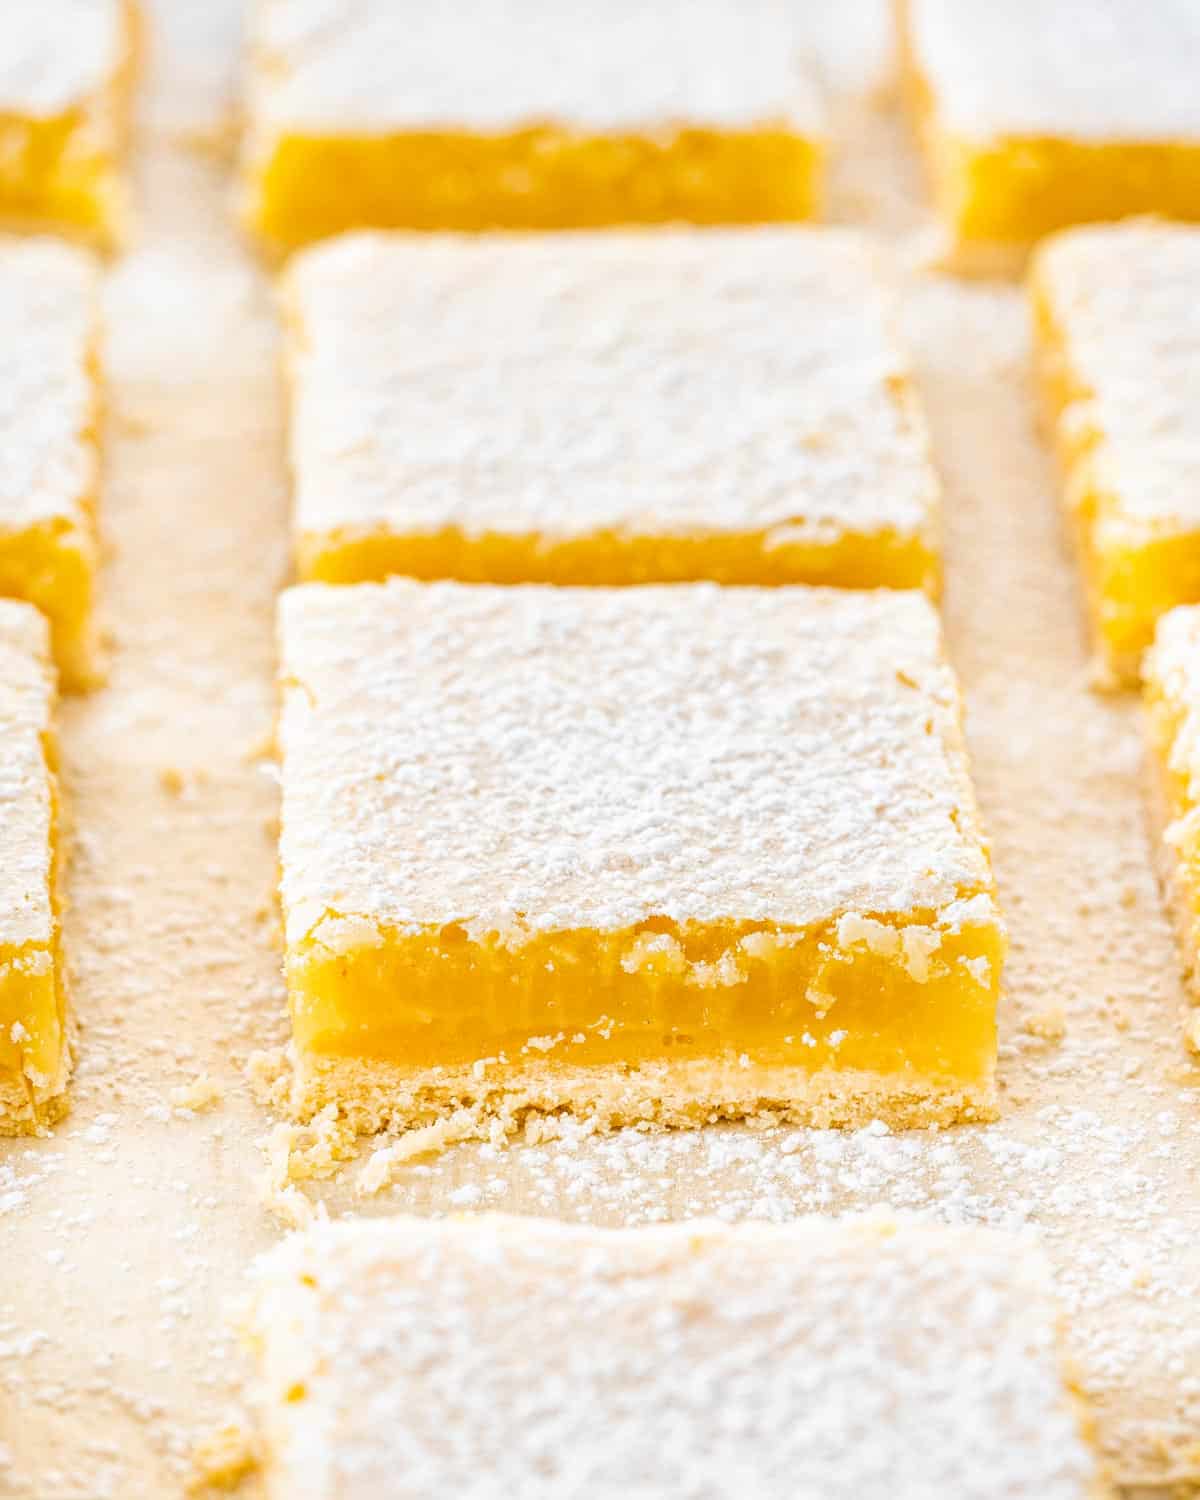
Lemon Bars – bright, creamy, buttery perfection layered over a tender shortbread crust. Classic, simple, and honestly? Always the first dessert to disappear.
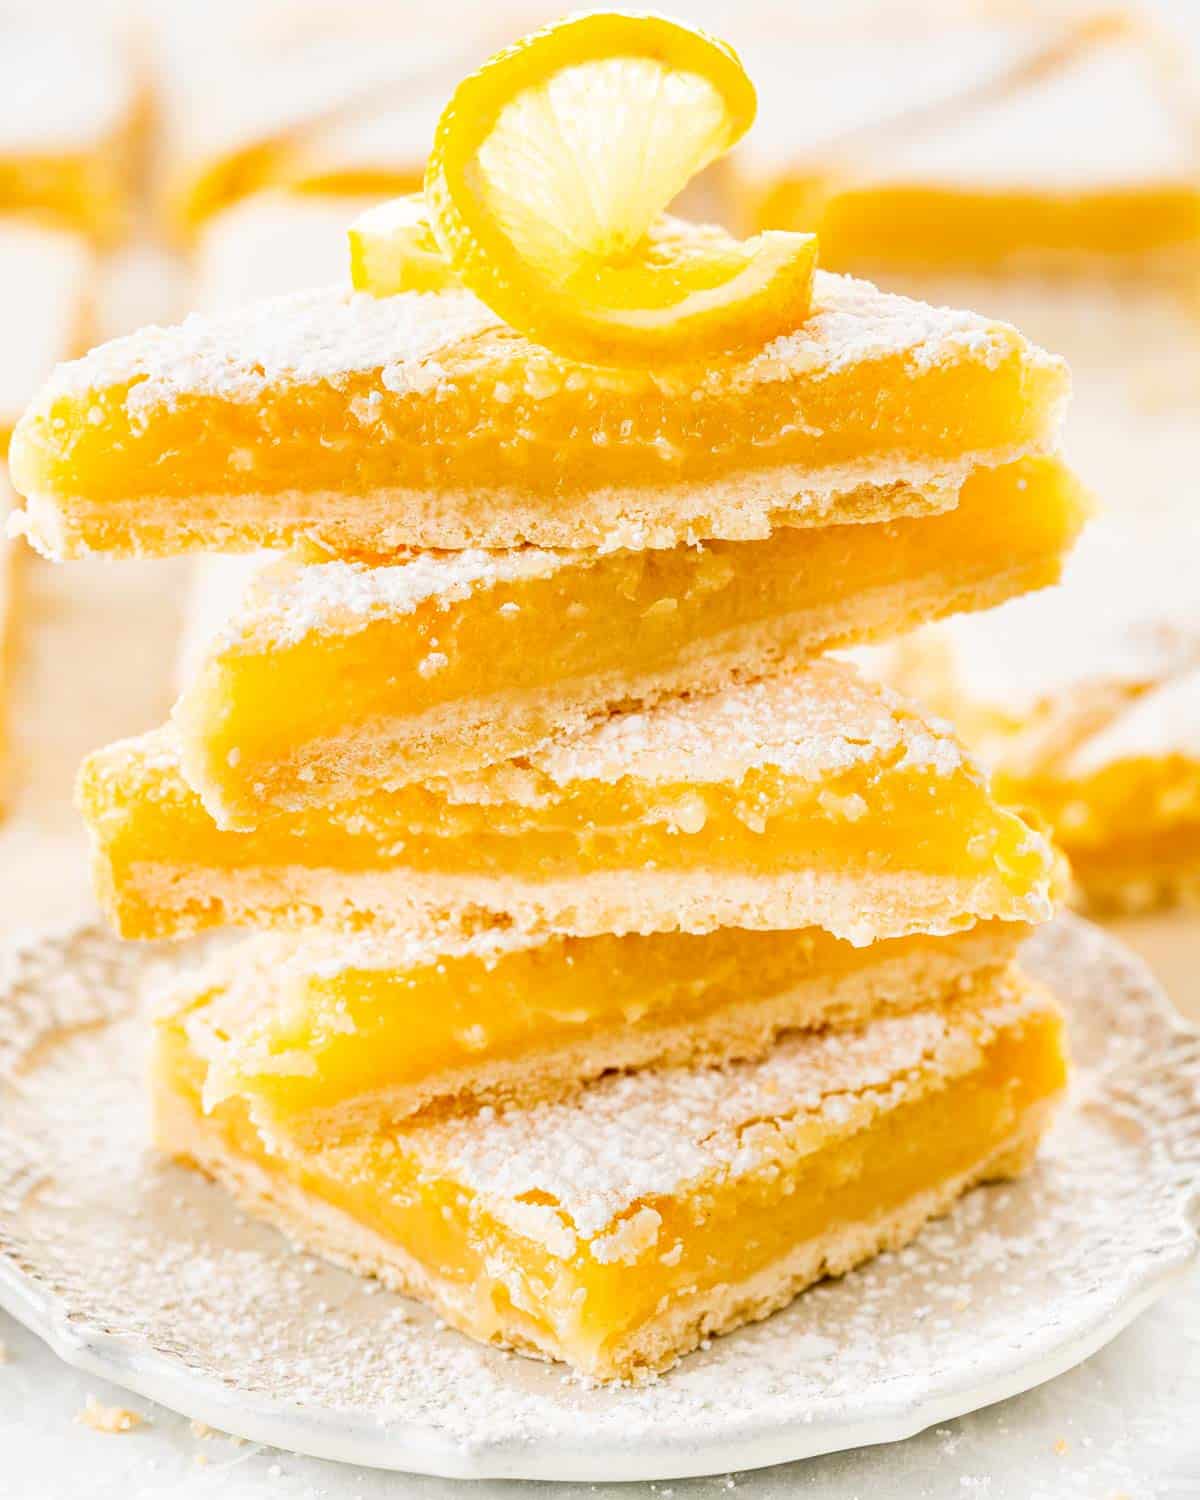

Soft, buttery, sunshine-bright lemon bars.
Bright, buttery, and a little bit nostalgic, lemon bars have been a favorite of mine since college.
Back then, my idea of “baking” was mostly boxed brownies and scrambled eggs that may or may not have involved ketchup (don’t judge). But one day I tried making lemon bars from scratch, no mixes, no shortcuts, and suddenly I felt like I actually knew what I was doing in the kitchen. They weren’t perfect (my crust may have doubled as a hockey puck), but that tangy lemon filling? Life-changing.
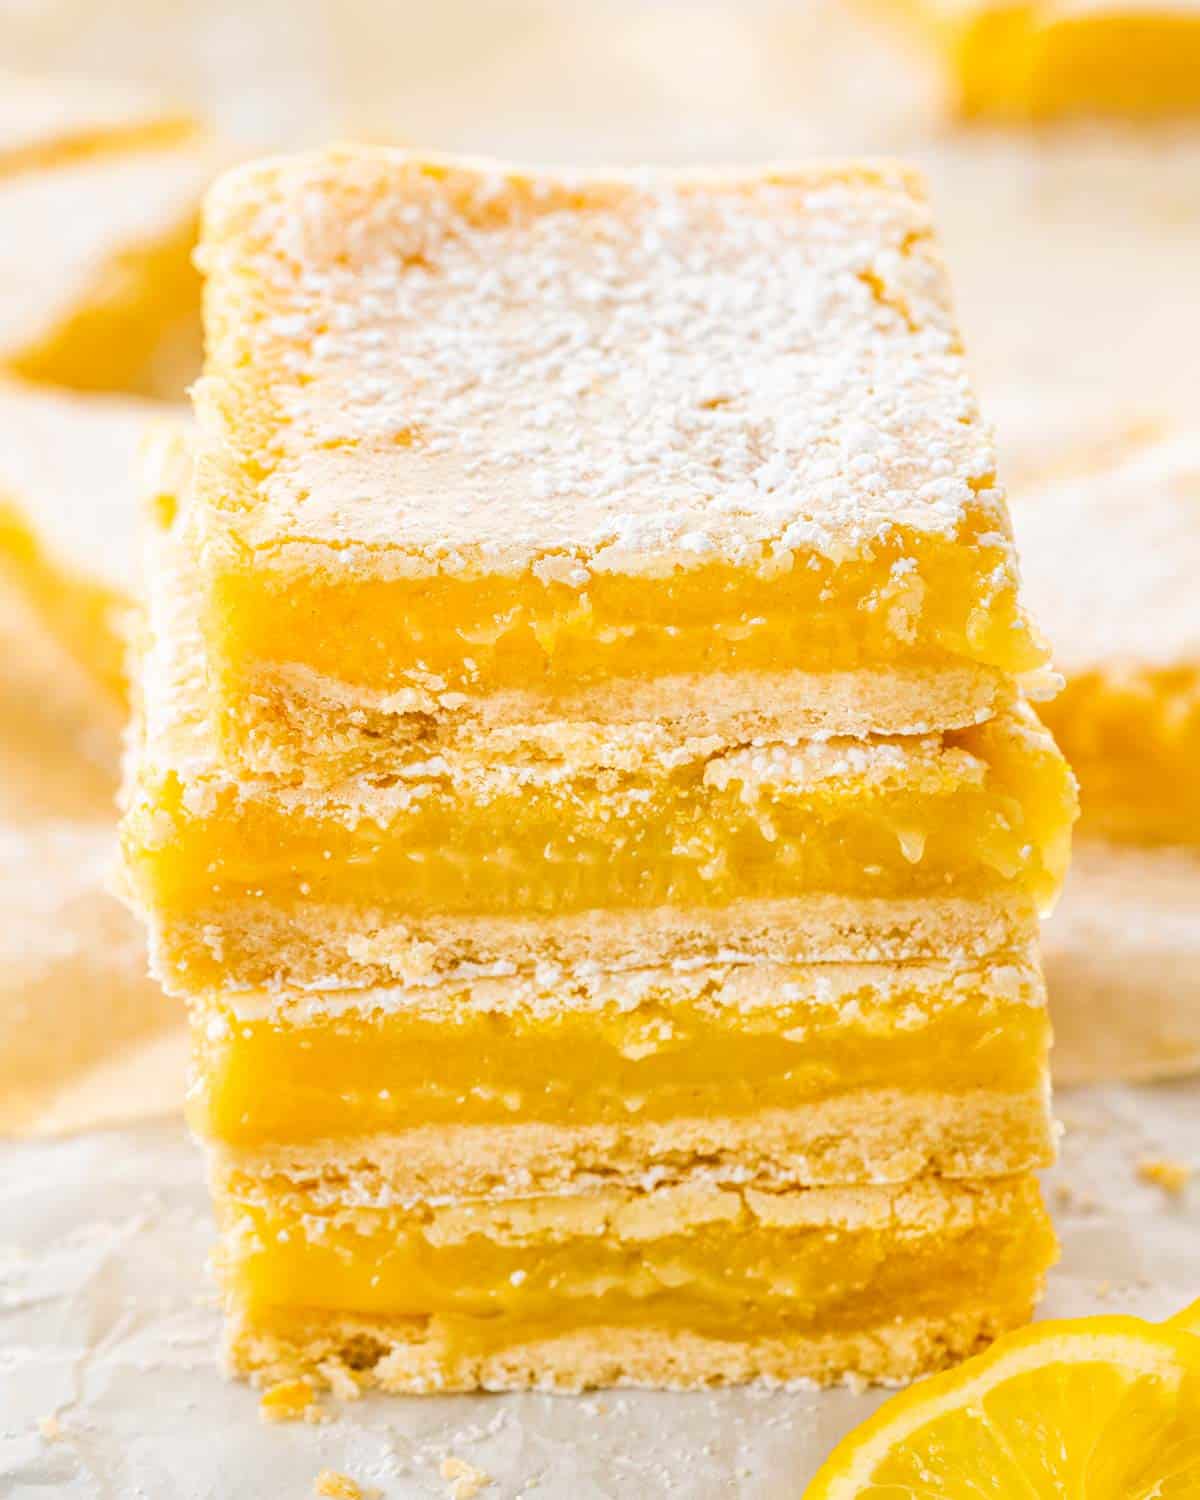
I’ve tweaked and tested this recipe so many times since then that now, it’s basically foolproof. Soft, buttery crust. Creamy, bright lemon layer. Clean slices that don’t fall apart when you serve them to guests, or sneak one from the fridge at midnight. This is the recipe I wish I had back in that tiny kitchen, and the one I still make when I want a guaranteed hit.

Why Make These Lemon Bars
- That zesty lemon layer? Bright, creamy, and just the right amount of tart. Not too sour, not too sweet. Basically sunshine in dessert form.
- A crust you’ll want to eat on its own. Buttery, soft, a little crumbly, like shortbread and cookie dough had a very delicious baby.
- No complicated steps. We’re using real ingredients and a whisk, not an advanced pastry degree.
- Make-ahead magic. They taste better after chilling. Which means you can make them the day before and pretend it was no big deal.
- They cut clean. No more lemon goo disasters or sad crumb avalanches. Just crisp edges and bakery level bars that stack like a dream.
- Crowd pleasers. Potlucks, brunches, birthdays, or midnight fridge raids. These never last long.
Before You Start: Tips & Ingredient Notes
- Use real butter. This is not the time for margarine. That rich, tender shortbread texture only happens with the real deal.
- Room temp is key. Cold butter doesn’t cream properly and will leave your crust sad and clumpy instead of light and tender.
- Don’t overmix. You want the crust to just come together. Too much mixing = tough base. And nobody wants a tough lemon bar.
- Parchment is your best friend. Line the pan with a generous overhang so you can lift the whole slab out like a pro when it’s time to slice.
- Fresh lemons only. Don’t even look at the bottle of lemon juice. You need that zingy brightness that only comes from the real stuff, plus the zest!
- Zest first, juice second. Trust me, trying to zest a squashed lemon is a mess waiting to happen.
- Room temp eggs, please. They blend better and give you that silky smooth texture without weird eggy bits floating around.
- Watch the bake time. The filling should be set with a slight wobble in the center. If it jiggles like Jell-O at a rave, it’s not ready. If it’s puffed and cracked, it’s gone too far.
Get the oven going at 350°F (175°C). Line a 9×13-inch baking pan with parchment paper, leaving a nice overhang. That way, when it’s time to cut, you’re not digging lemon bars out like buried treasure.
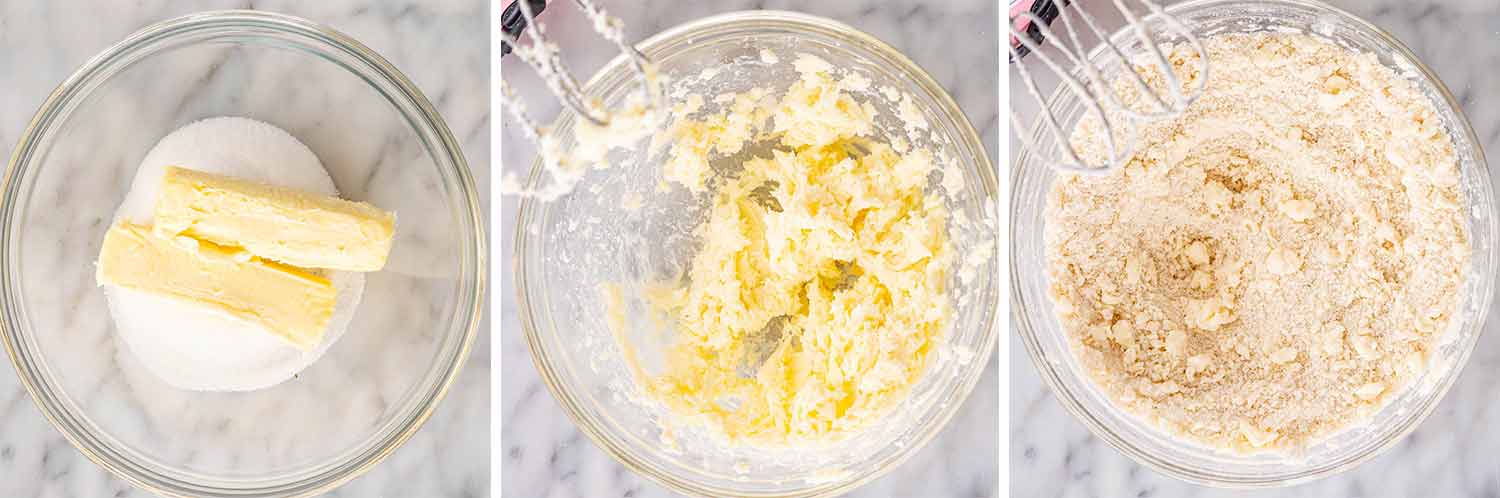
Beat the butter and sugar until it’s light and fluffy, think soft peaks. Add flour and salt, and mix just until it forms soft clumps. It’ll look a little crumbly, but that’s exactly what we want.
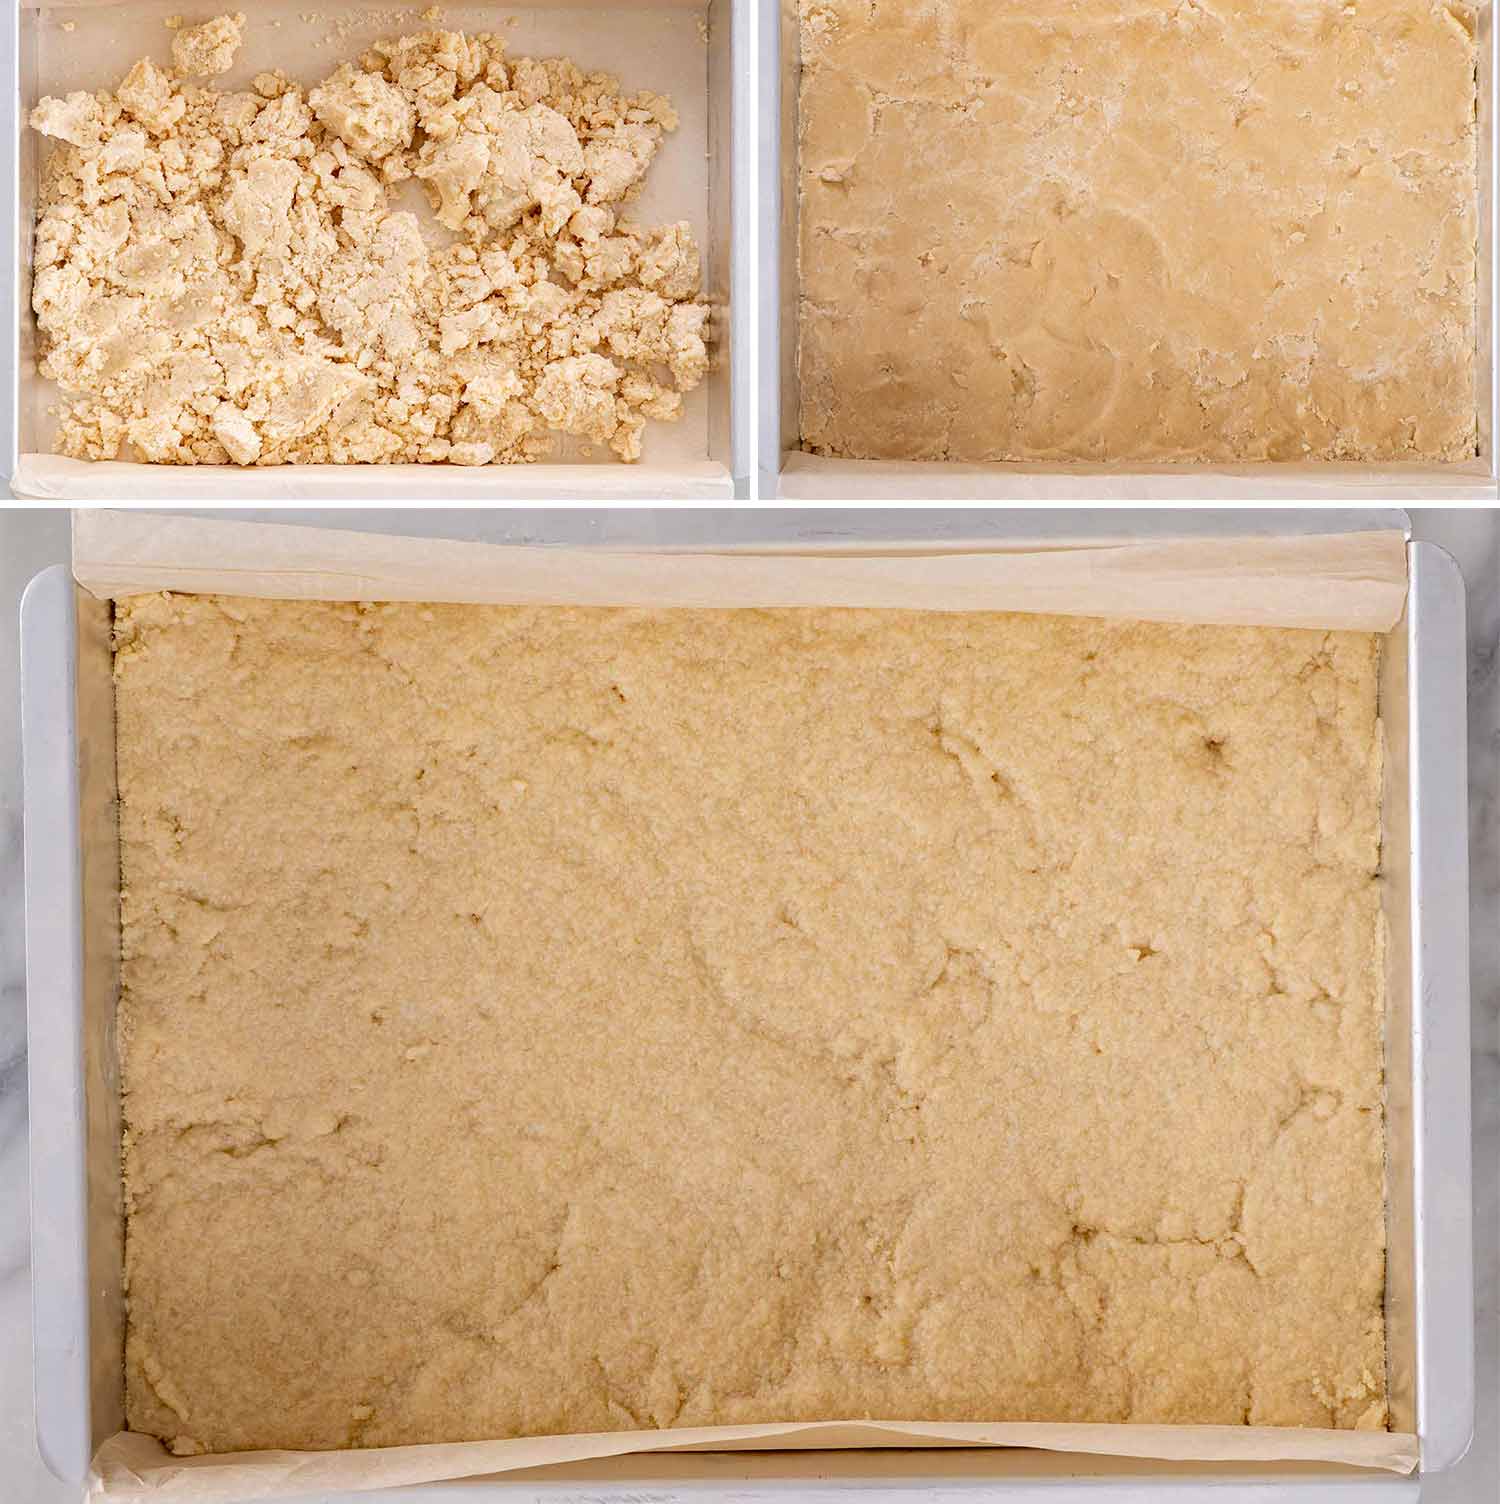
Press the crust into your prepared pan with floured hands or the bottom of a measuring cup (my go-to). Bake for about 20 minutes, just until the edges start to turn golden. Don’t over-bake it, the crust’s going back in with the filling.

In a bowl, whisk together the eggs, sugar, lemon zest, lemon juice, and flour until smooth. It should be pourable, but not watery. No fancy mixer needed here, just a whisk and a little muscle.
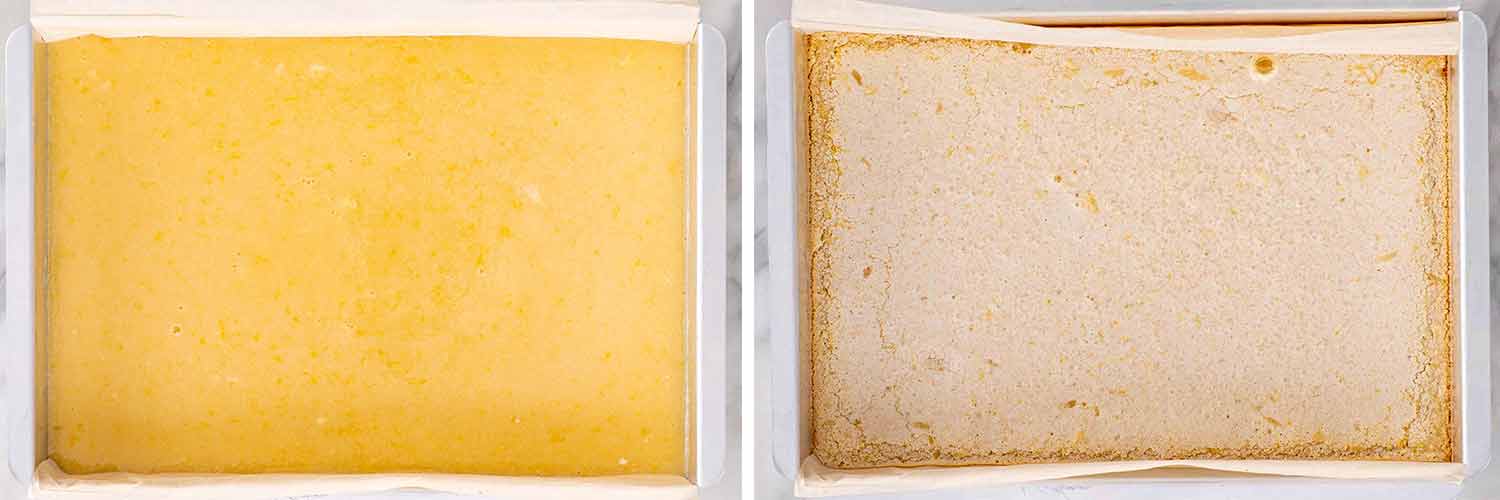
Pour the filling over the warm crust. No need to cool it completely, but don’t dump it on while the crust’s still lava hot. Bake for another 30–35 minutes, or until the filling is set and doesn’t jiggle like a trampoline.
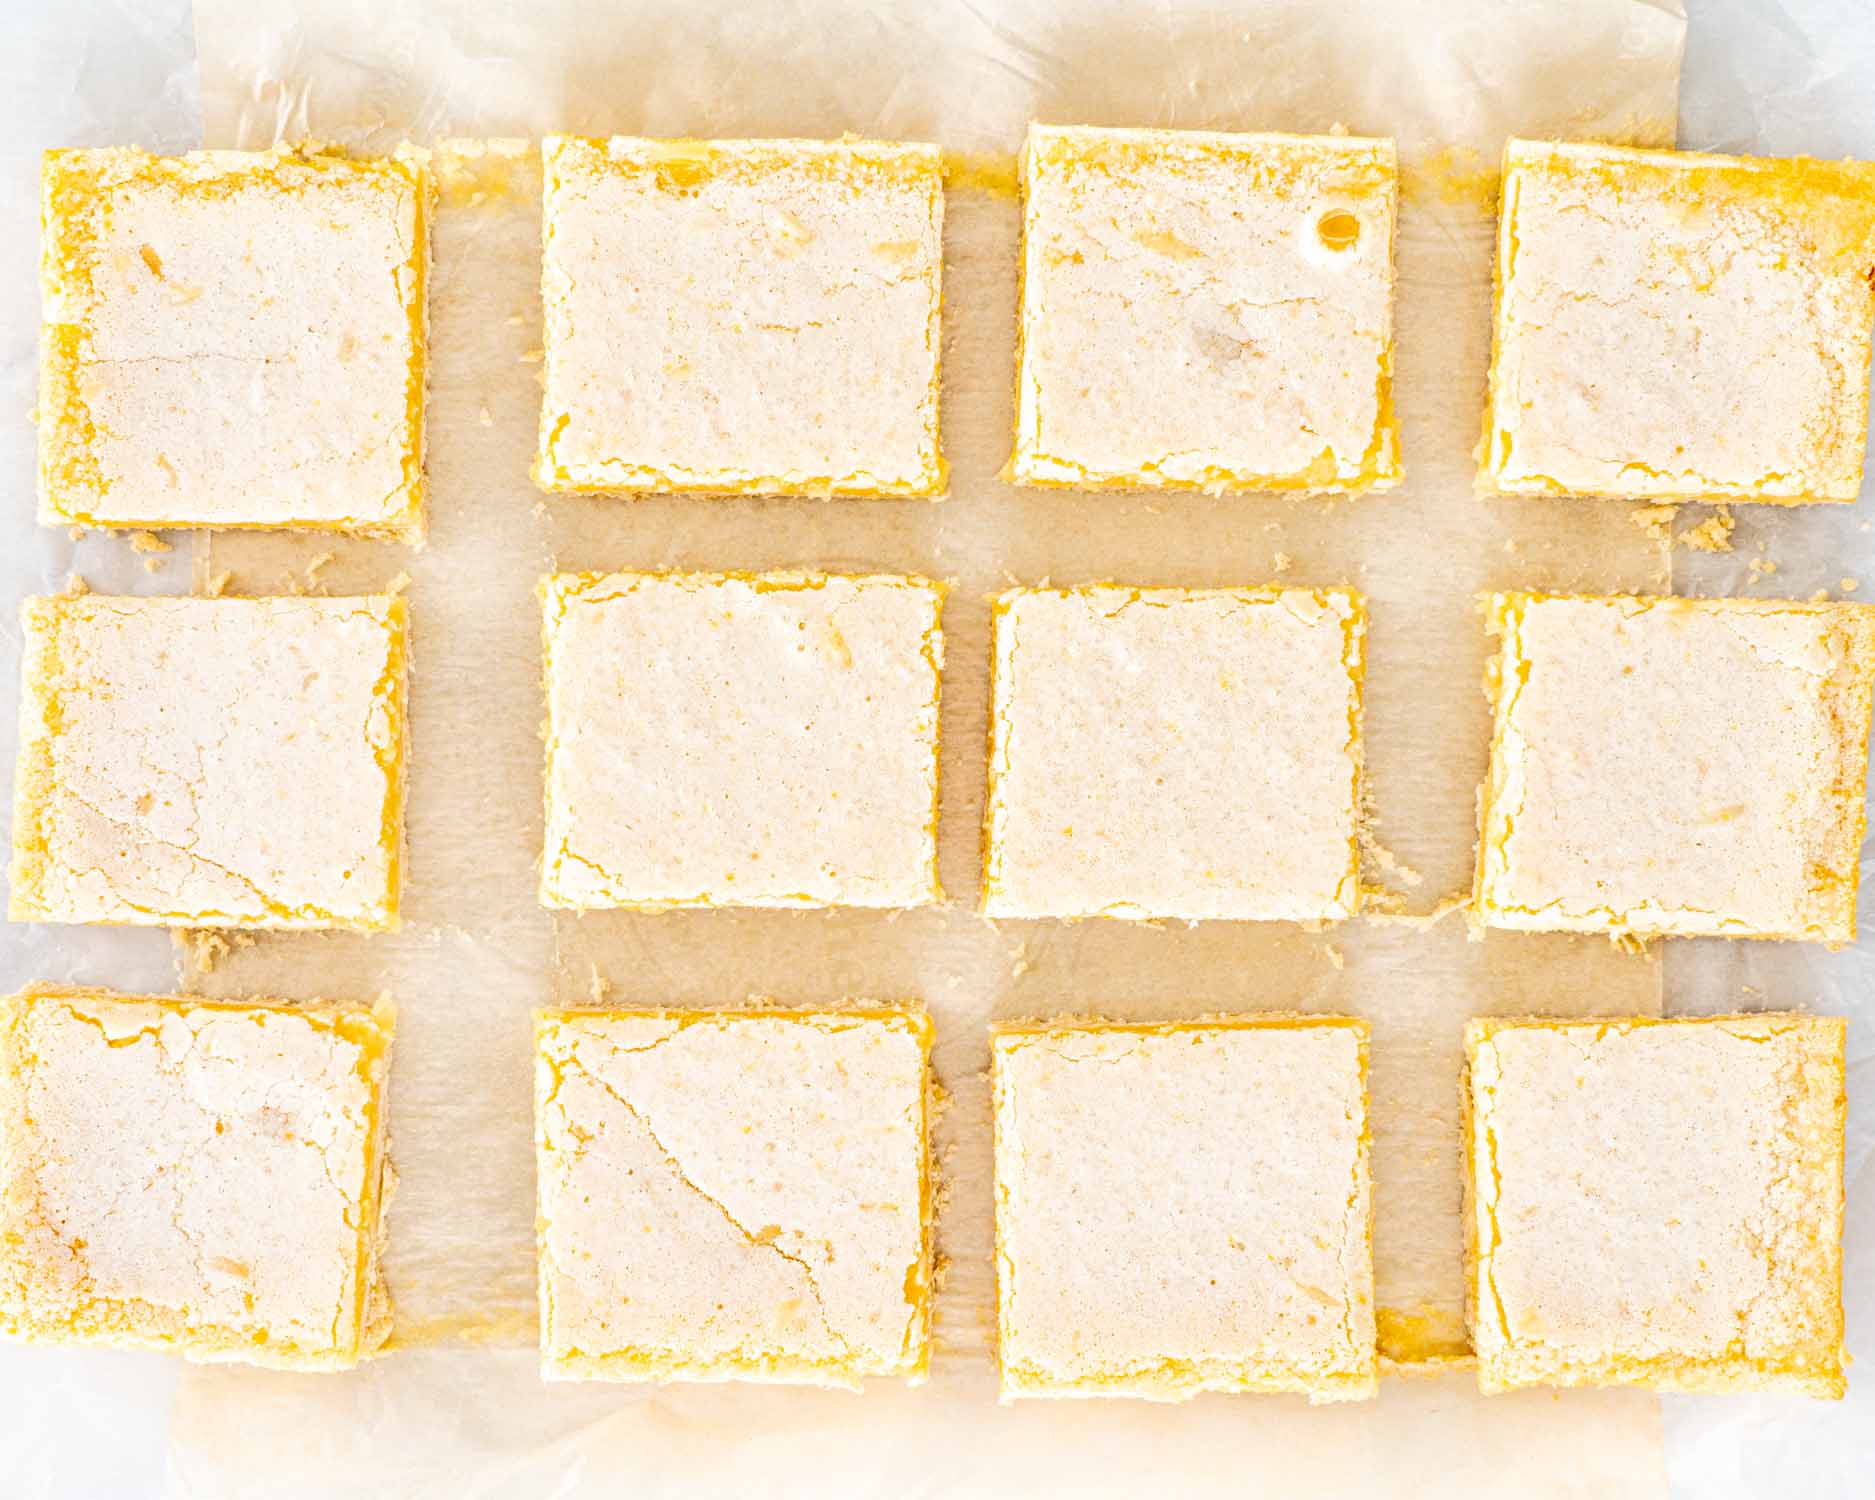
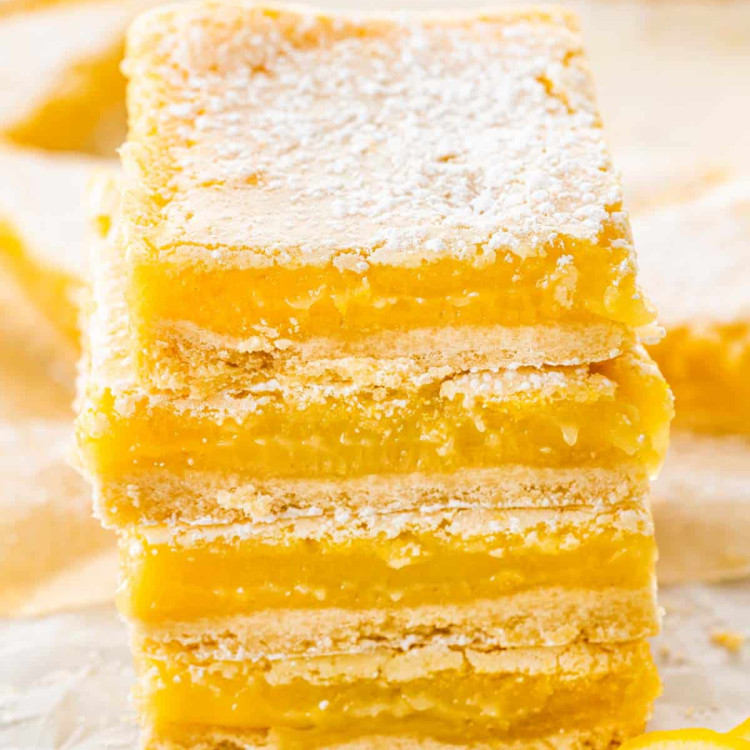
Now walk away. Seriously. Let it cool at room temp, then chill if you’ve got the time. Cutting too early = lemon puddle. Once it’s set and cooled, lift the whole slab out using the parchment, cut into squares (or triangles), and dust with powdered sugar just before serving.
Serving Suggestions
These lemon bars are basically little squares of sunshine, and they fit into just about any occasion where dessert is required (which is, let’s be honest, every occasion). Here’s how I love to serve them:
- Brunch tables. Perfect for a spring or Easter brunch when you need something sweet that’s not over-the-top heavy.
- Potlucks and BBQs. They travel like a dream, and no one’s ever mad about a dessert you can eat with your hands.
- Afternoon coffee dates (even if it’s just you). Bright, tangy lemon bars + a hot cup of coffee = instant mood boost.
- Fancy things. Dust them with powdered sugar and stack them on a pretty platter, suddenly you’re the person who brings the “gorgeous dessert.”
- Late-night fridge raids. No judgment. (Honestly, they taste even better cold.)
Not sure what to serve with them? Here’s how I love to pair these lemon bars to turn any meal, or coffee break, into something special:
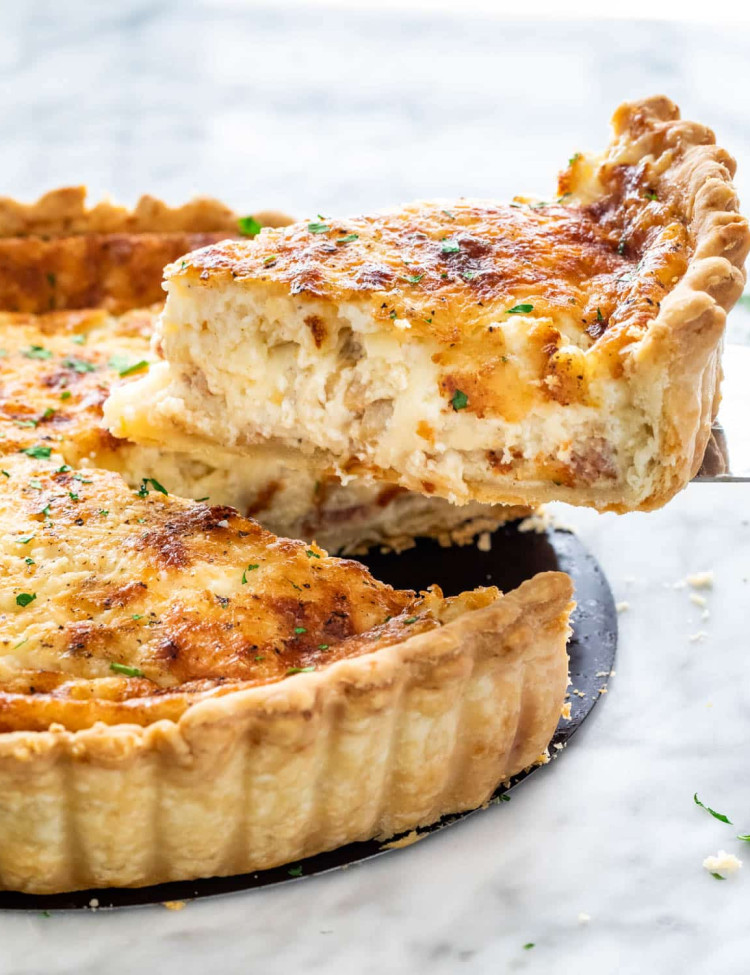
Quiche Lorraine
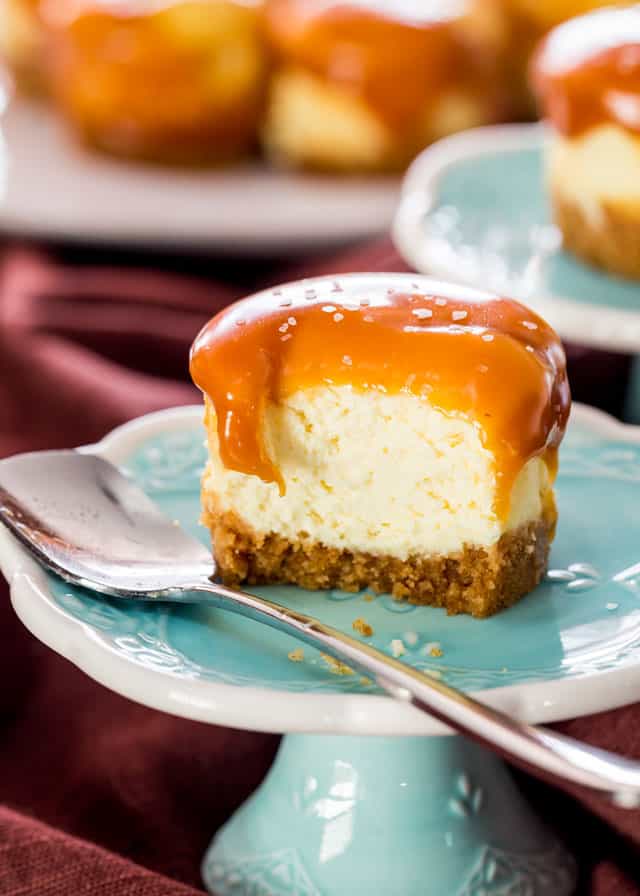
Mini Salted Caramel Cheesecakes

Banana Bread
Strawberry Shortcake
Frequently Asked Questions
How many lemons do I actually need?
You’ll need about 4 to 6 lemons to get 1 cup of fresh juice. Depends on the size and juiciness, so grab a couple extras just in case. No one wants to come up short mid-squeeze.
Can I use bottled lemon juice?
Technically? Yes. Will I ever do that? No. Fresh is everything here. Bottled just doesn’t have that bright, zingy punch these bars are known for.
Do lemon bars freeze well?
They sure do! Once cooled and sliced, layer them between parchment sheets in an airtight container and freeze for up to 3 months. Thaw in the fridge and dust with fresh powdered sugar to revive the just baked magic.
How do I get clean slices without making a mess?
Cool them completely first (chill them if you’ve got time). Use a sharp knife and wipe it clean between cuts. Want to look like a pro? Dust with powdered sugar after slicing so it stays crisp and pretty.
Why did my filling crack?
It’s usually from overbaking or too hot of an oven. Pull them when they’re set but still have a bit of wiggle in the middle. Cracks happen, just cover it with powdered sugar and carry on.
Can I make these ahead of time?
Yes, and honestly? They taste even better the next day. The lemon filling sets up beautifully in the fridge and the flavors mellow out into creamy, citrusy perfection.
Do I have to refrigerate them?
Yes. Because of the eggs, they need to be kept in the fridge. Bonus: lemon bars straight from the fridge are actually peak lemon bar.
These are the best lemon bars that I have ever made, and the best shortbread crust that I’ve had too. I will be making these again. Thank you!
Kim Chalfant
Try These Lemony Desserts Next
Originally shared February 2014. Updated with fresh photos, video and clearer instructions to help you bake the best lemon bars every single time.
Before You Begin! If you make this, please leave a review and rating letting us know how you liked this recipe! This helps our business thrive & continue providing free recipes.
Simple Classic Lemon Bars
Video
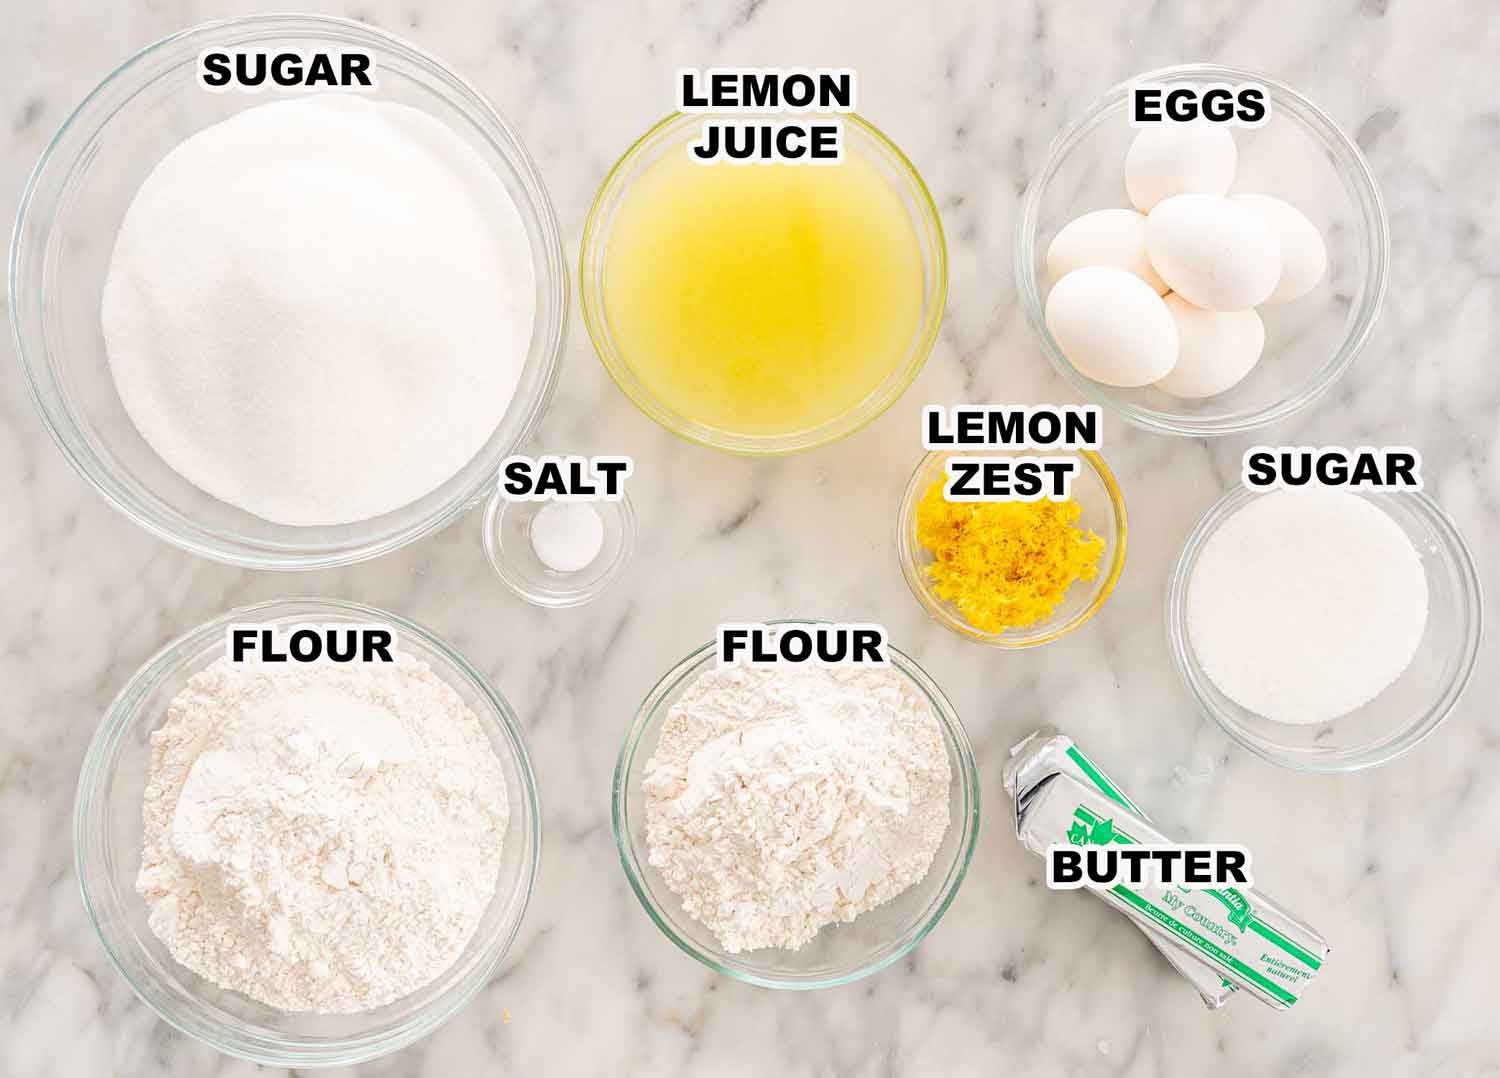
Ingredients
For the Crust
- ½ cup sugar (granulated)
- ½ pound butter (unsalted, at room temperature (2 sticks))
- 2 cups all-purpose flour
- ⅛ teaspoon salt
For the Filling
- 6 large eggs (at room temperature)
- 3 cups sugar (granulated)
- 2 tablespoon lemon zest (grated)
- 1 cup lemon juice (freshly squeezed)
- 1 cup all-purpose flour
Before You Begin! If you make this, please leave a review and rating letting us know how you liked this recipe! This helps our business thrive & continue providing free recipes.
Instructions
- Preheat the oven to 350°F.
- Prepare a 9×13-inch baking pan with parchment paper, make sure the parchment paper is long enough to come over the sides, this will make it easy to pull out the bars.
- In the bowl of your mixer add sugar and butter and beat using the paddle attachment until light. Add flour and salt and mix until the dough starts forming into a ball. It will still crumble easily.
- Dump the crumbled up crust dough into the prepared baking dish and flatten using your floured hands, sometimes I use the bottom of a glass or measuring cup to help flatten it. Transfer the crust to the oven and bake it for 20 minutes, until very lightly browned, you'll start seeing the edges brown. Let it cool and leave the oven on.
- Whisk together all the filling ingredients. Pour over the cooled crust.
- Transfer the baking pan back to the oven and bake for another 30 to 35 minutes or until the filling is set. Let it cool at room temperature. Cut into triangles or squares and dust with powdered sugar.
Notes
- Use fresh lemons: Freshly squeezed juice and real lemon zest make all the difference in flavor, bottled lemon juice just doesn’t hit the same.
- Room temperature ingredients: Bring your butter and eggs to room temperature before starting for the best texture in both the crust and the filling.
- Parchment paper is your friend: Line your pan with parchment and leave a good overhang to lift the bars out easily after baking, it makes slicing and serving so much simpler.
- Cool completely before slicing: Let the bars cool fully at room temperature (or chill them for even cleaner cuts). Wipe your knife between slices for those perfect bakery-style edges.
- Freezer-friendly: These bars freeze beautifully! Just be sure to wait and dust with powdered sugar until after they thaw for that pretty fresh look.
Nutrition Information
Notice: Nutrition is auto-calculated for your convenience. Where relevant, we recommend using your own nutrition calculations.
Recipe adapted from Ina Garten.
