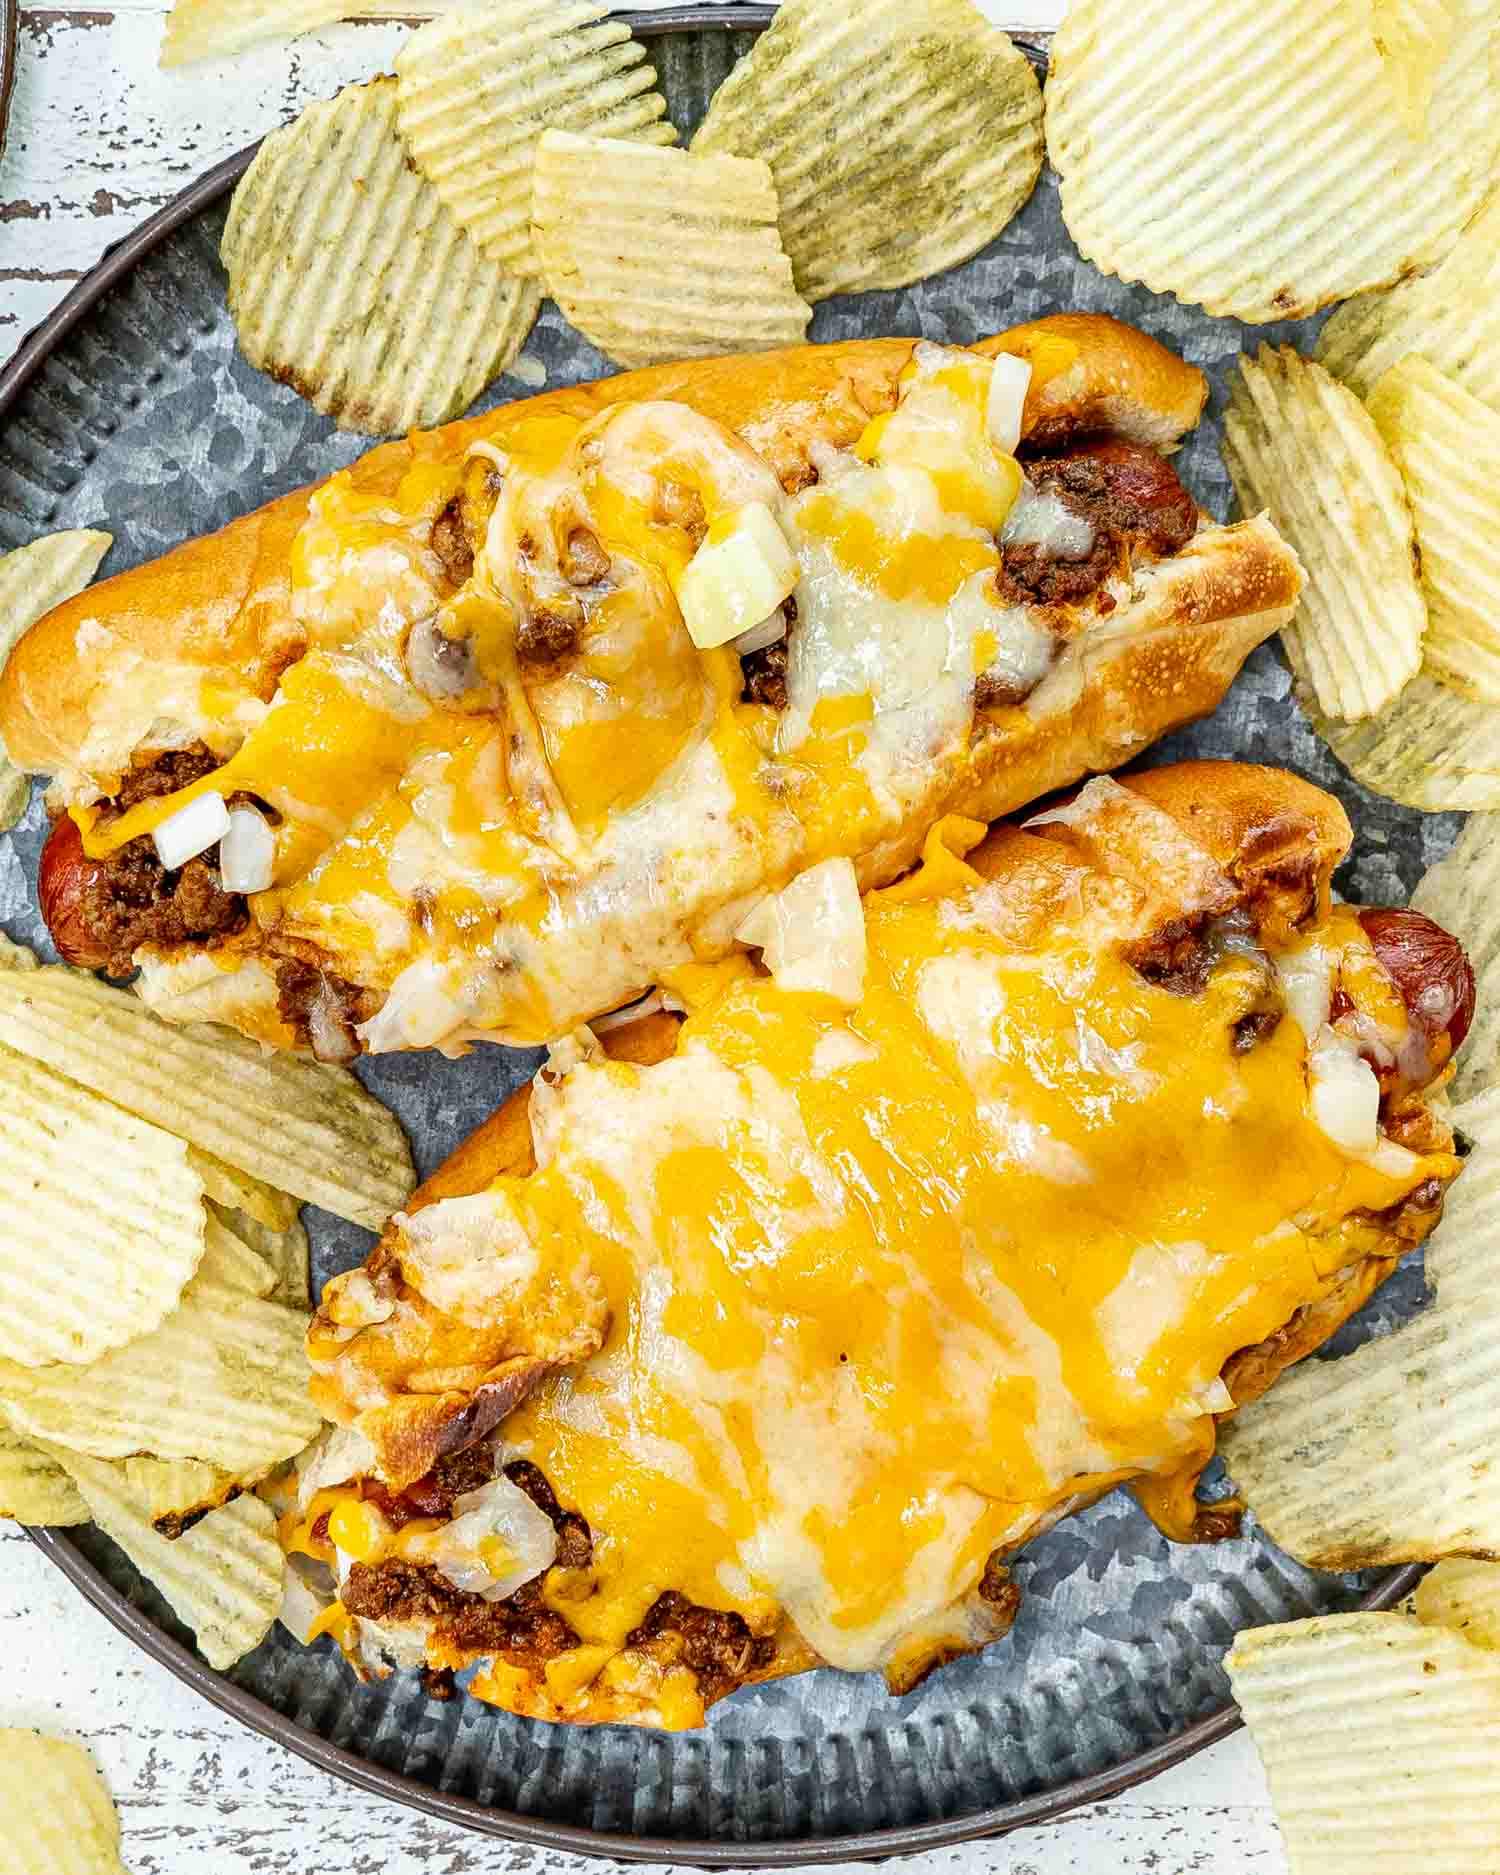
Homemade Cincinnati Chili Dogs
This post may contain affiliate links. Please read my disclosure policy.

Homemade Cincinnati Chili Dogs – a little backyard grilling, a big pot of spiced chili, and zero need for cutlery. Welcome to my unpacking life.
So, fun fact: these were supposed to be grilled. You know, sunshine, patio vibes, sizzling hot dogs. Except Remo accidentally ran over our actual grill with the truck. I wish I were kidding or that I was fast enough to take a video of it. So here we are, making chili dogs the old-fashioned way: on a grill pan in a half-unpacked kitchen with dogs staring me down and zero regrets.
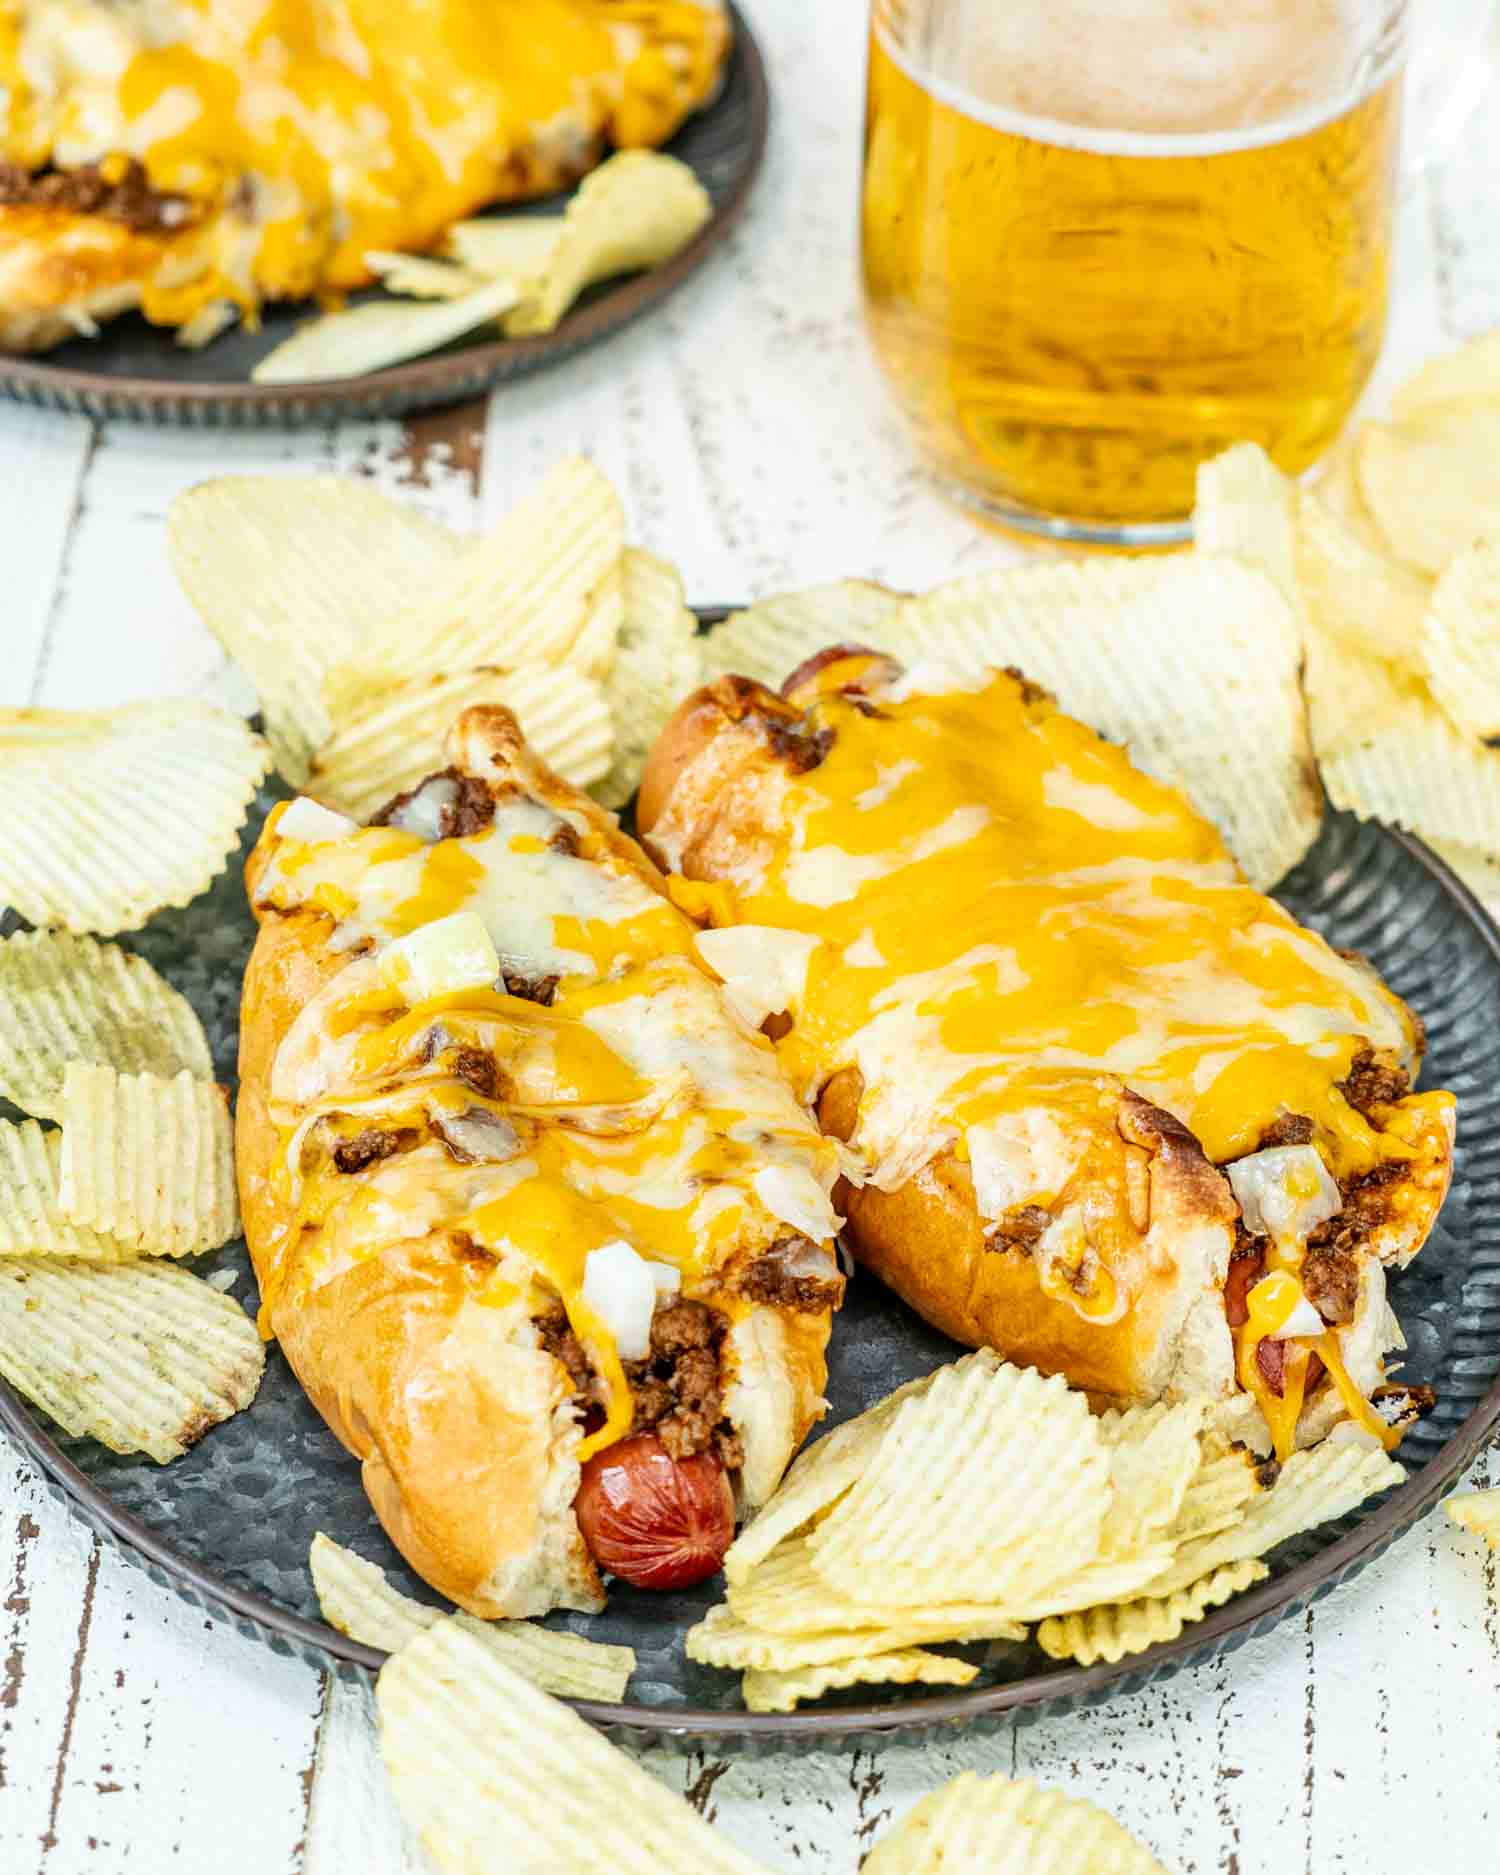
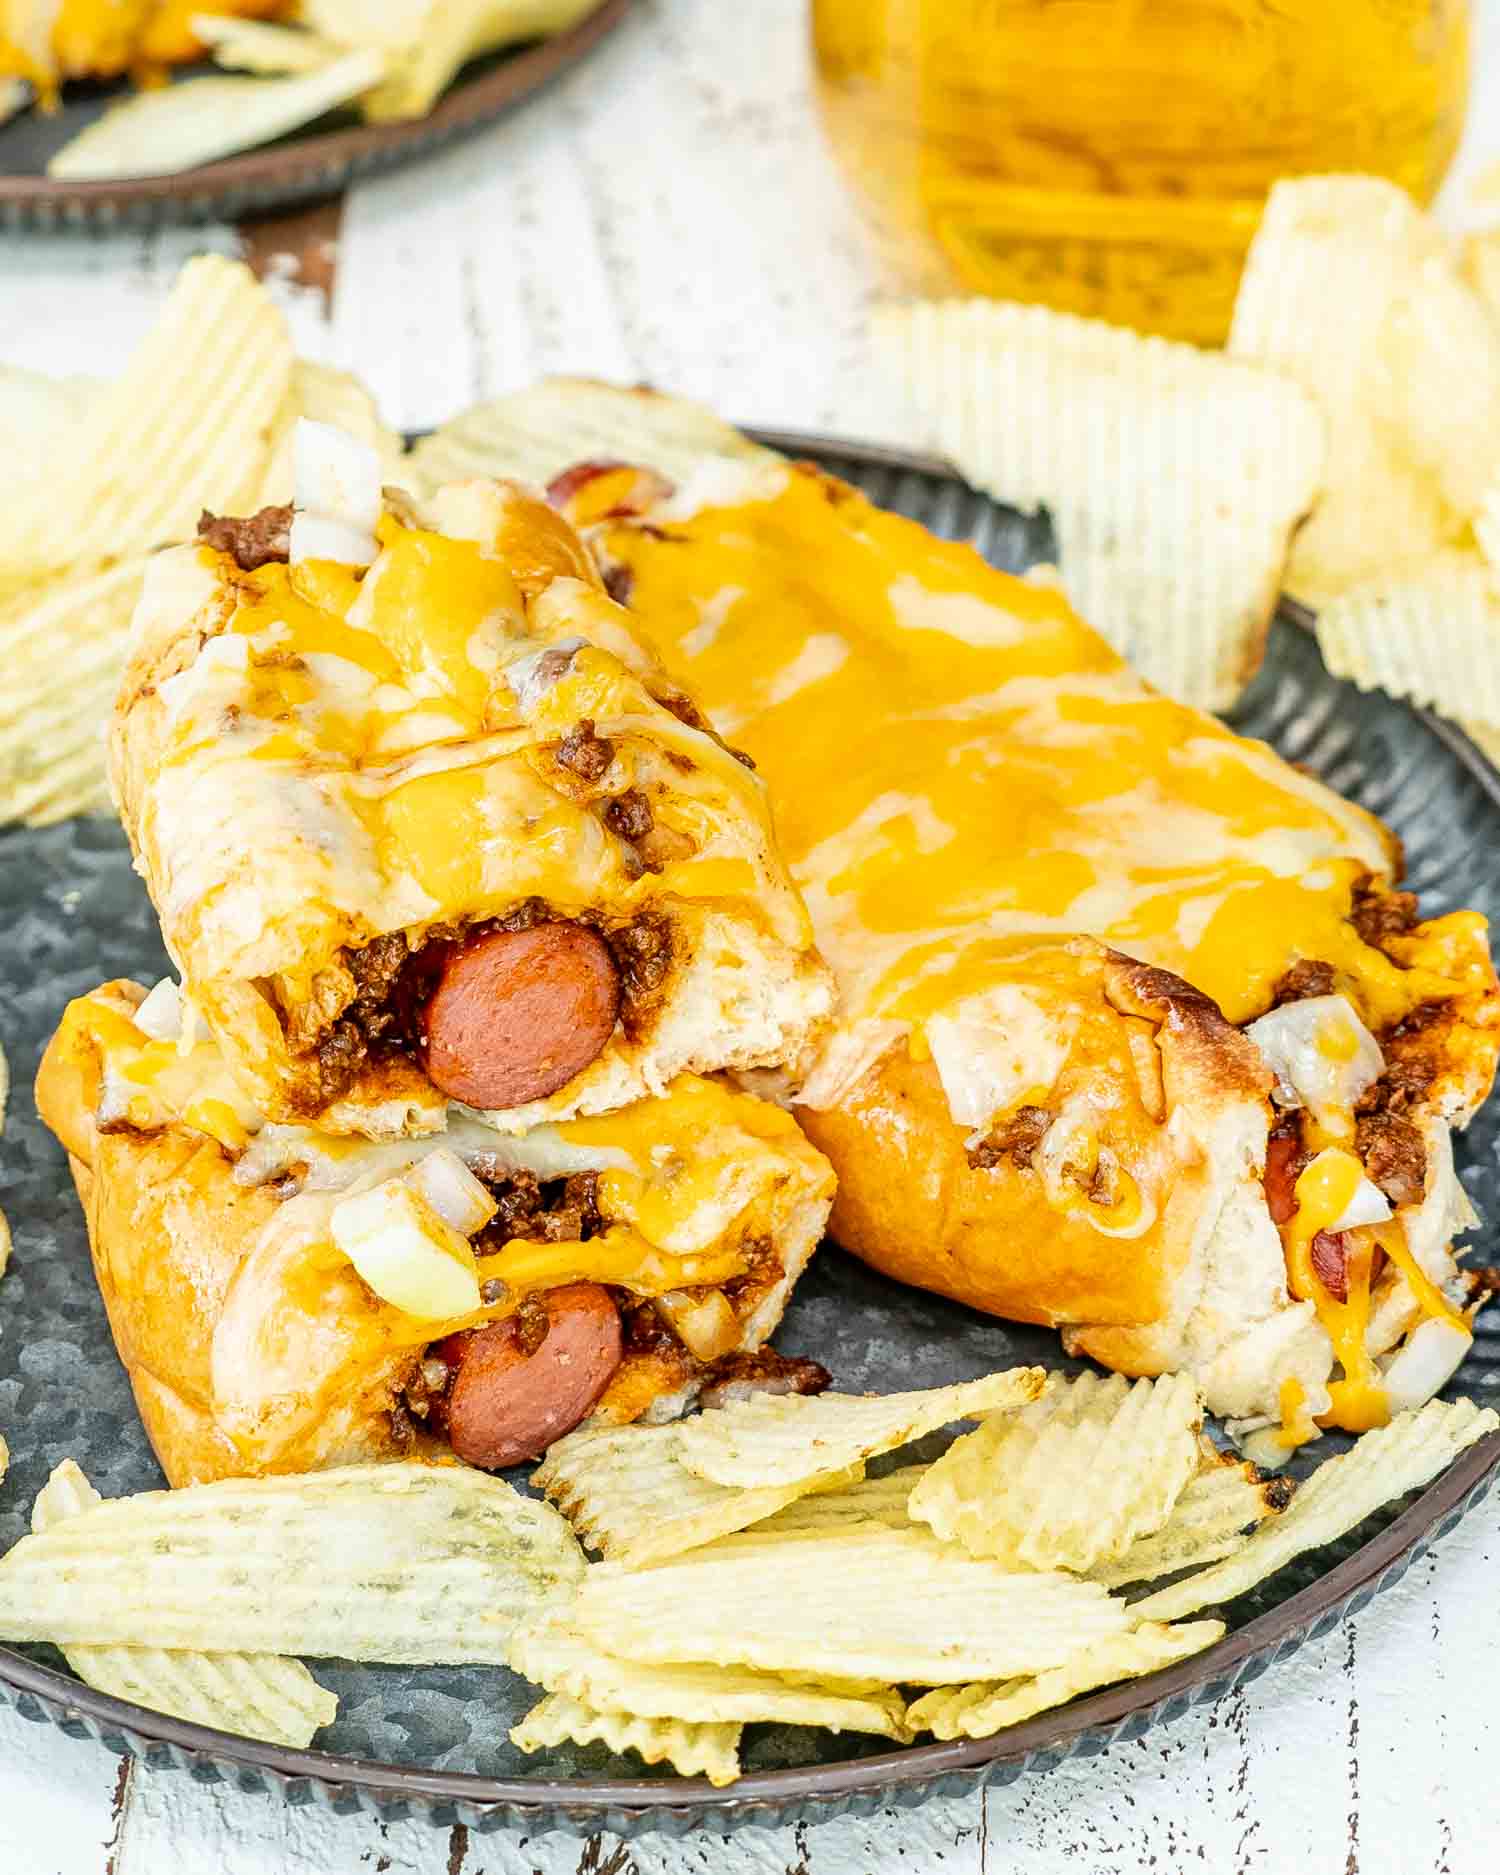
And honestly? Still worth it. Juicy hot dogs, toasty buns, and my homemade Cincinnati chili (with that sneaky little hit of cinnamon that makes people go, “Wait, what is that?”) all smothered in cheese and onions. It’s messy. It’s easy. And it’s absolutely happening, grill or no grill.
Why You’ll Love These Chili Dogs
- Zero fancy gear required: No grill? No problem. If your partner drives over it (hypothetically…), the stove still works.
- Ridiculously easy: Grill the dogs, heat the chili, load it all into buns. Done in 20.
- Cincinnati chili twist: That hint of cinnamon and allspice takes it from “just another hot dog” to ooh, what’s in this?
- Crowd-pleaser energy: Whether it’s a backyard BBQ or you’re just bribing your movers with food, these always disappear.
- Customize it your way: Pile on the onions, add mustard, melt the cheese under the broiler, make it yours.
- Use homemade chili if you can: This recipe uses my Cincinnati chili, and trust me, it’s worth making. The spices (yes, that’s cinnamon you’re tasting) are what make these dogs next-level.
- Make it ahead: Chili tastes even better the next day. If you’re short on time, warm it up while you grill (or grill pan) the dogs.
- Thin it out a bit: Hot dog chili should be thick, but not clumpy. If it’s too dense, stir in a splash of broth or water before serving.
- Don’t skip toasting the buns: It keeps them from going soggy under all that chili and gives you a little crisp texture.
- Use whatever hot dogs you love: Beef, turkey, veggie, they all work. Just pick something with good snap and flavor.
- Broil to melt the cheese: Once you load the buns, pop them under the broiler for a couple minutes to get that gooey, cheesy top. Optional, but highly recommended.
- No grill? Use a grill pan or even a cast iron skillet: It works beautifully. Remo-tested, Jo-approved.
If your grill is still alive and well, fire it up to medium-high. If it’s been flattened by a truck (hi Remo), grab your grill pan or cast iron skillet and heat it up on the stove. Either way, hot dogs are getting cooked.

Place the hot dogs on the grill or pan and cook them for 5 to 7 minutes, turning occasionally, until they’re nicely browned and heated through. You’re looking for that classic hot dog sizzle and maybe a few charred edges for good measure.

Split the buns and toast them cut-side down, either right on the grill or in a dry skillet. Just a minute or two, you want golden, not burnt. This step keeps the chili from turning them into mush.
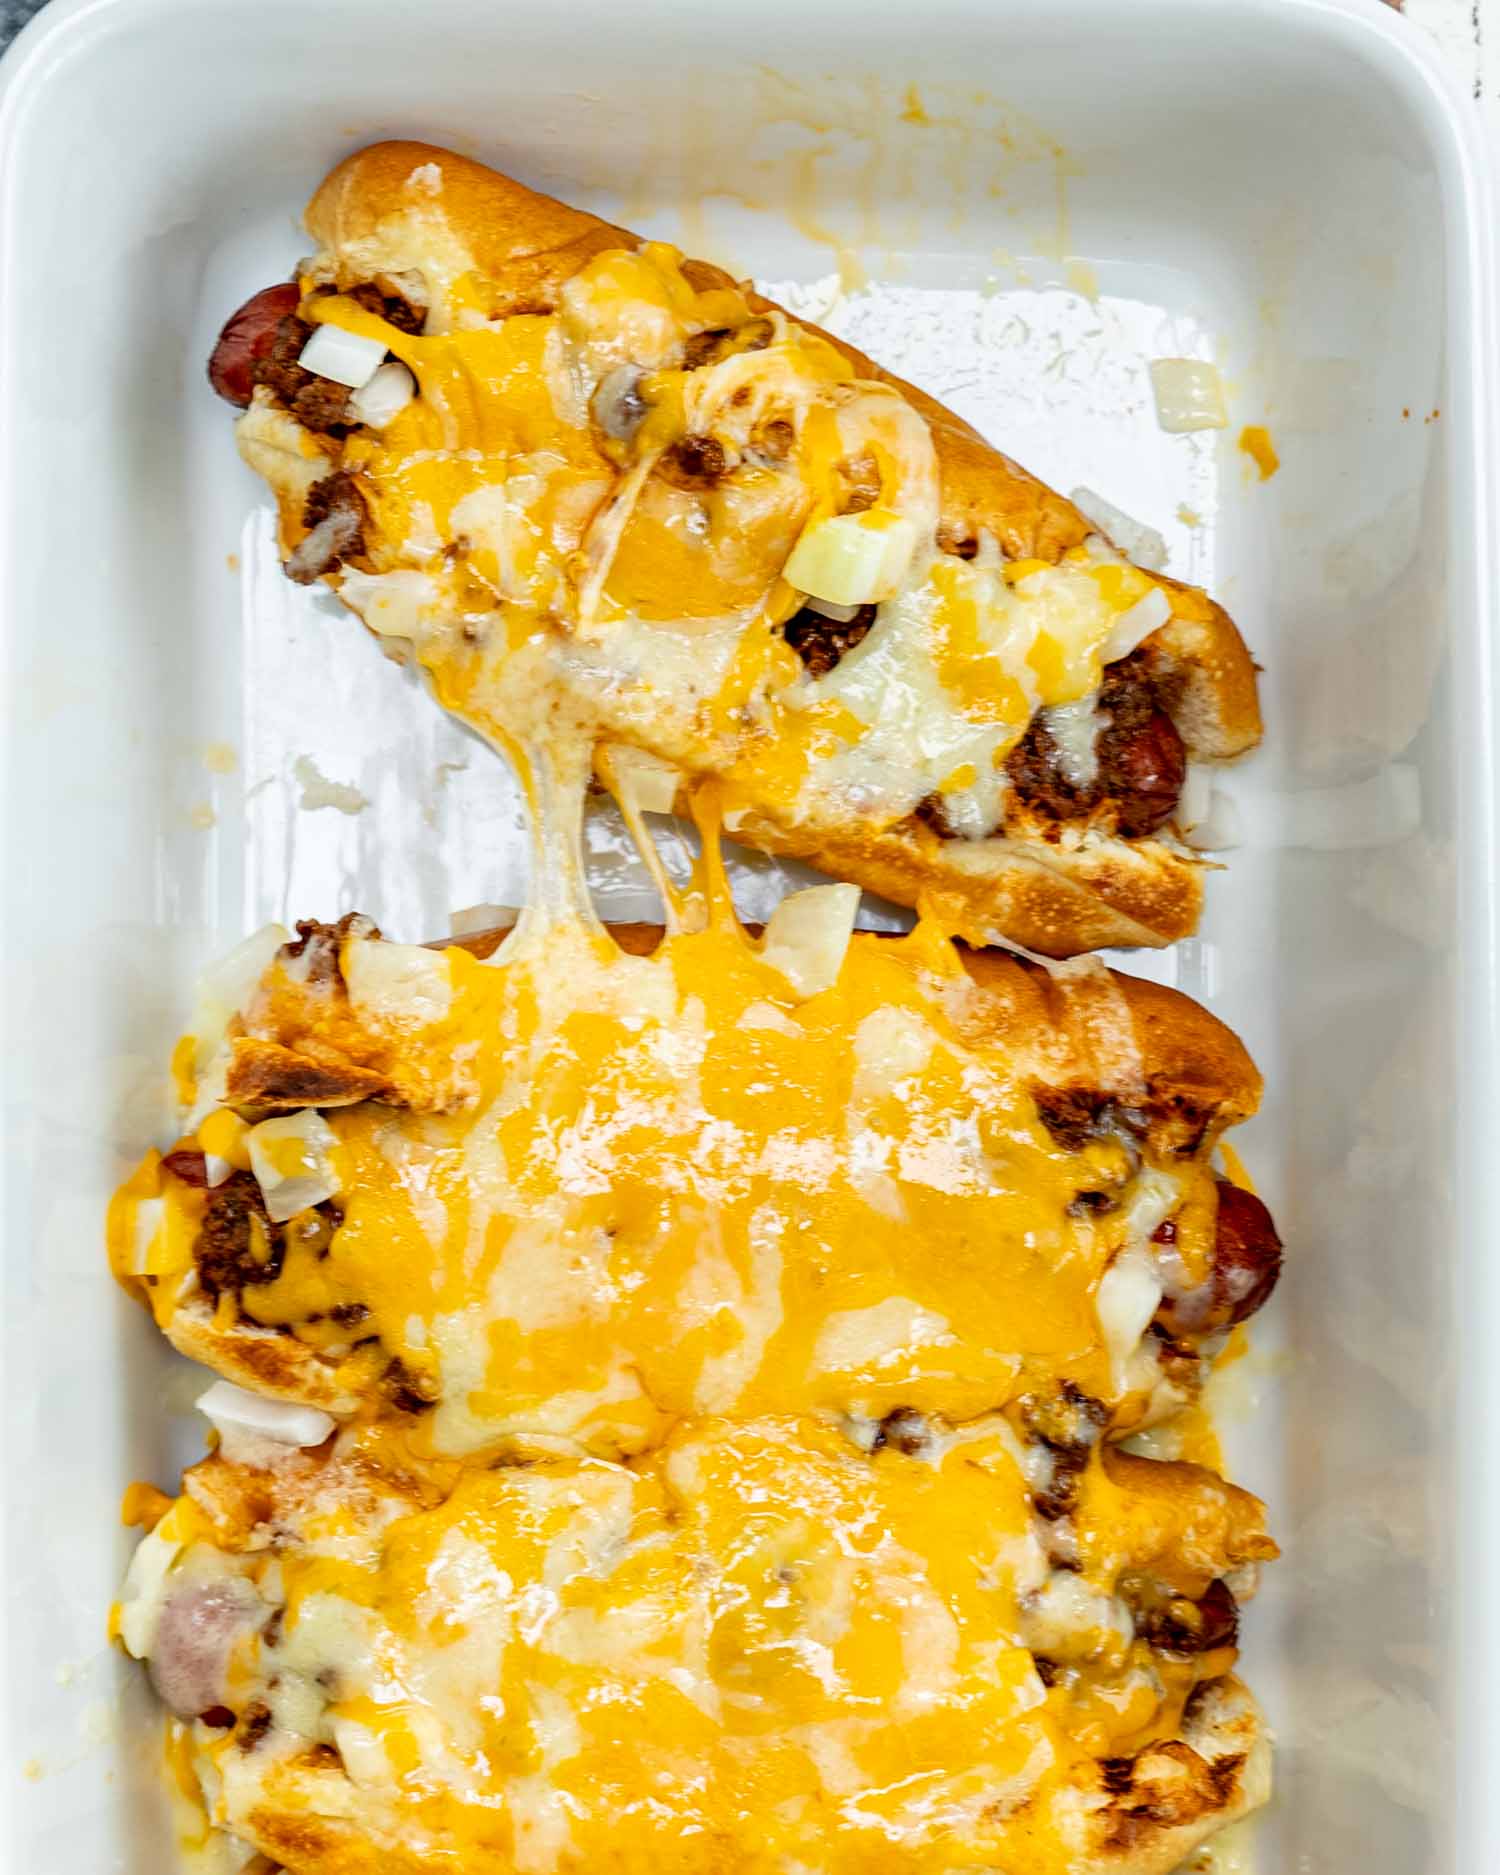
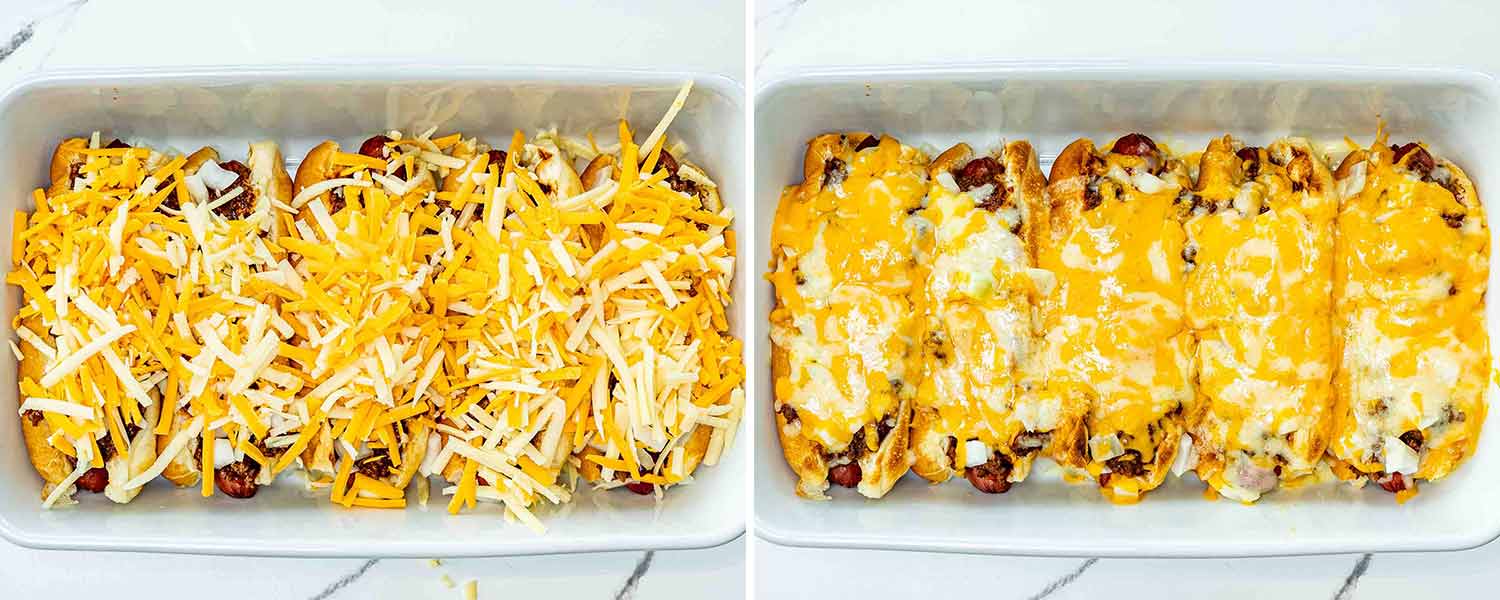
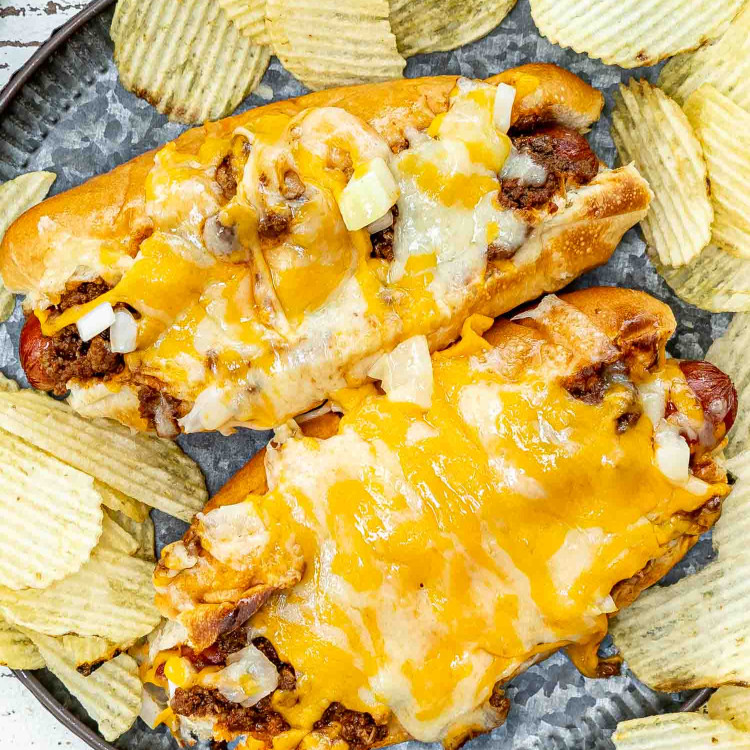
Nestle a hot dog into each toasted bun. Spoon over a generous helping of chili, then top with shredded cheddar and chopped onions. Want to go the extra mile? Slide the whole tray under the broiler for 2–3 minutes to get that melty, bubbly cheese moment.
How To Serve
Chili dogs are a full-on comfort food experience, but if you’re feeding a crowd (or just feeling like going all out), here’s what to serve on the side:
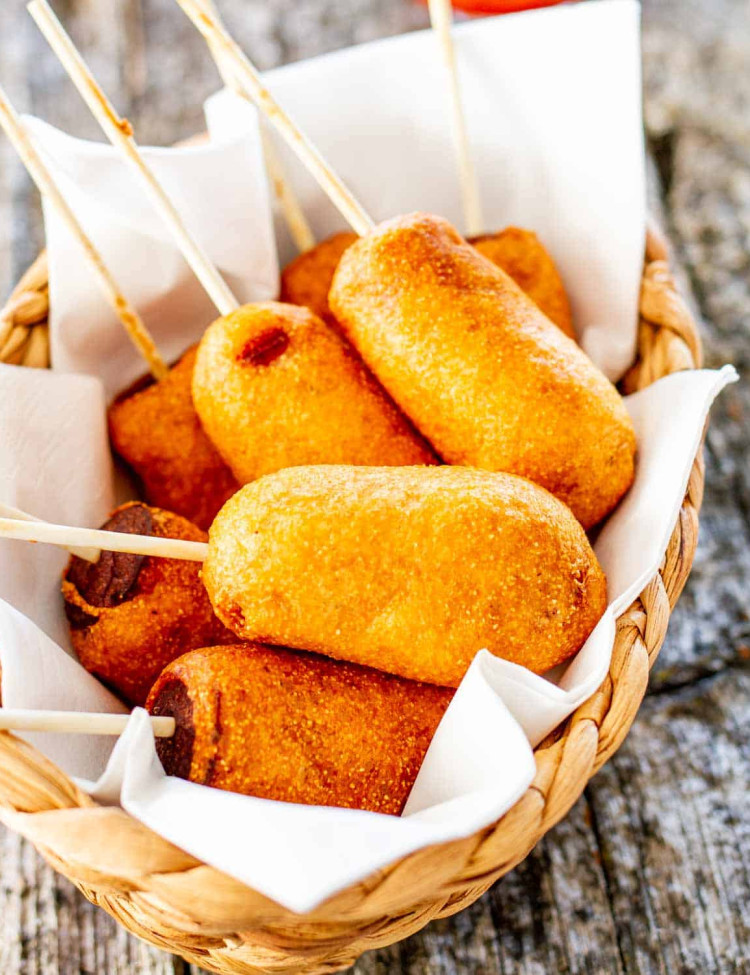
Mini Corn Dogs

Easy Coleslaw
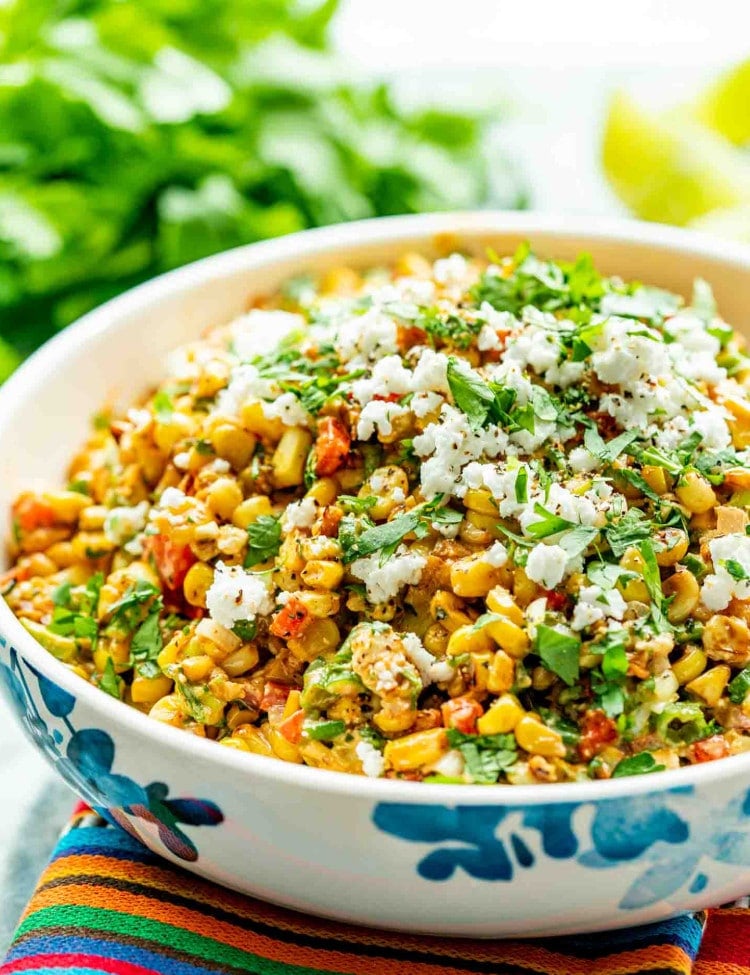
Mexican Street Corn Salad
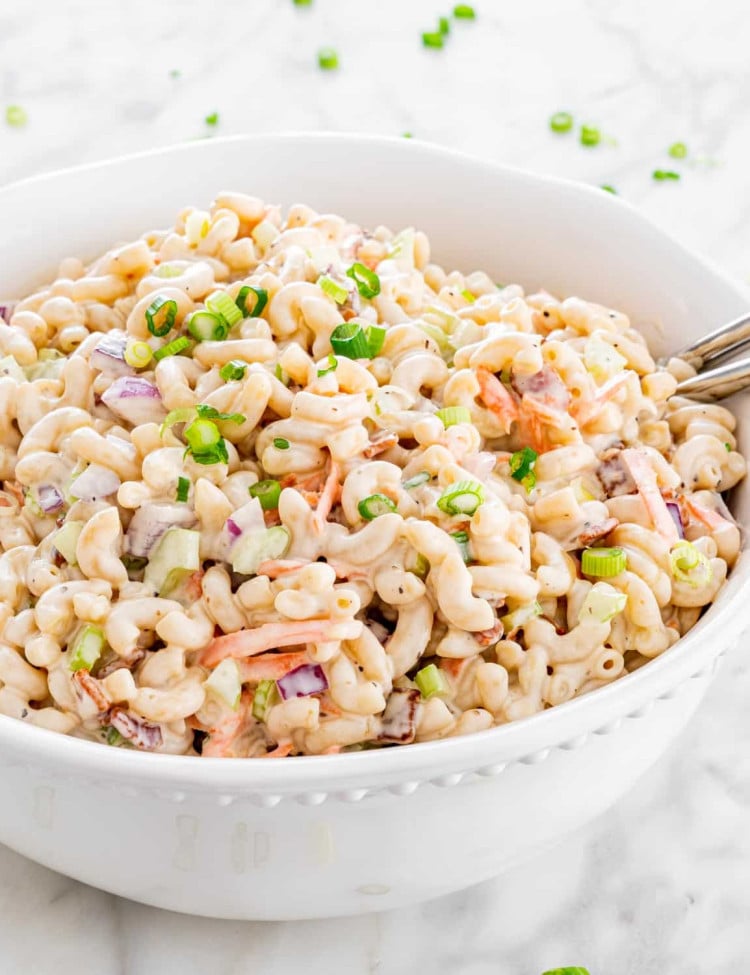
Macaroni Salad

Frequently Asked Questions
Can I use canned chili?
Sure, but only if you’re in survival mode. I highly recommend using my Cincinnati chili for that sweet savory spiced flavor that makes these special. Canned chili works in a pinch, but it’s not the same.
How do I keep the buns from going soggy?
Toast them! Just a minute or two on the grill or in a pan makes a big difference. It gives the bun structure so it doesn’t fall apart under all that chili goodness.
Can I make these ahead of time?
Sort of. Cook the hot dogs and chili ahead, but don’t assemble until serving. Keep everything warm and build them fresh.
What toppings work best?
Sharp cheddar and raw chopped onion are the classics, but feel free to go wild, jalapeños, mustard, sour cream, crushed corn chips, it’s your dog.
Leftovers?
These are best assembled and eaten fresh. If you’ve got leftover chili or grilled dogs, store them separately in airtight containers in the fridge for up to 3 days. Reheat and rebuild when the craving hits.
Try These Delicious Recipes Next
- Mini Corn Dogs
- Grilled Bratwurst
- Pigs In A Blanket
- BLT Sandwich
- Grilled Chicken Sandwich
- Meatball Subs
Before You Begin! If you make this, please leave a review and rating letting us know how you liked this recipe! This helps our business thrive & continue providing free recipes.
Homemade Cincinnati Chili Dogs
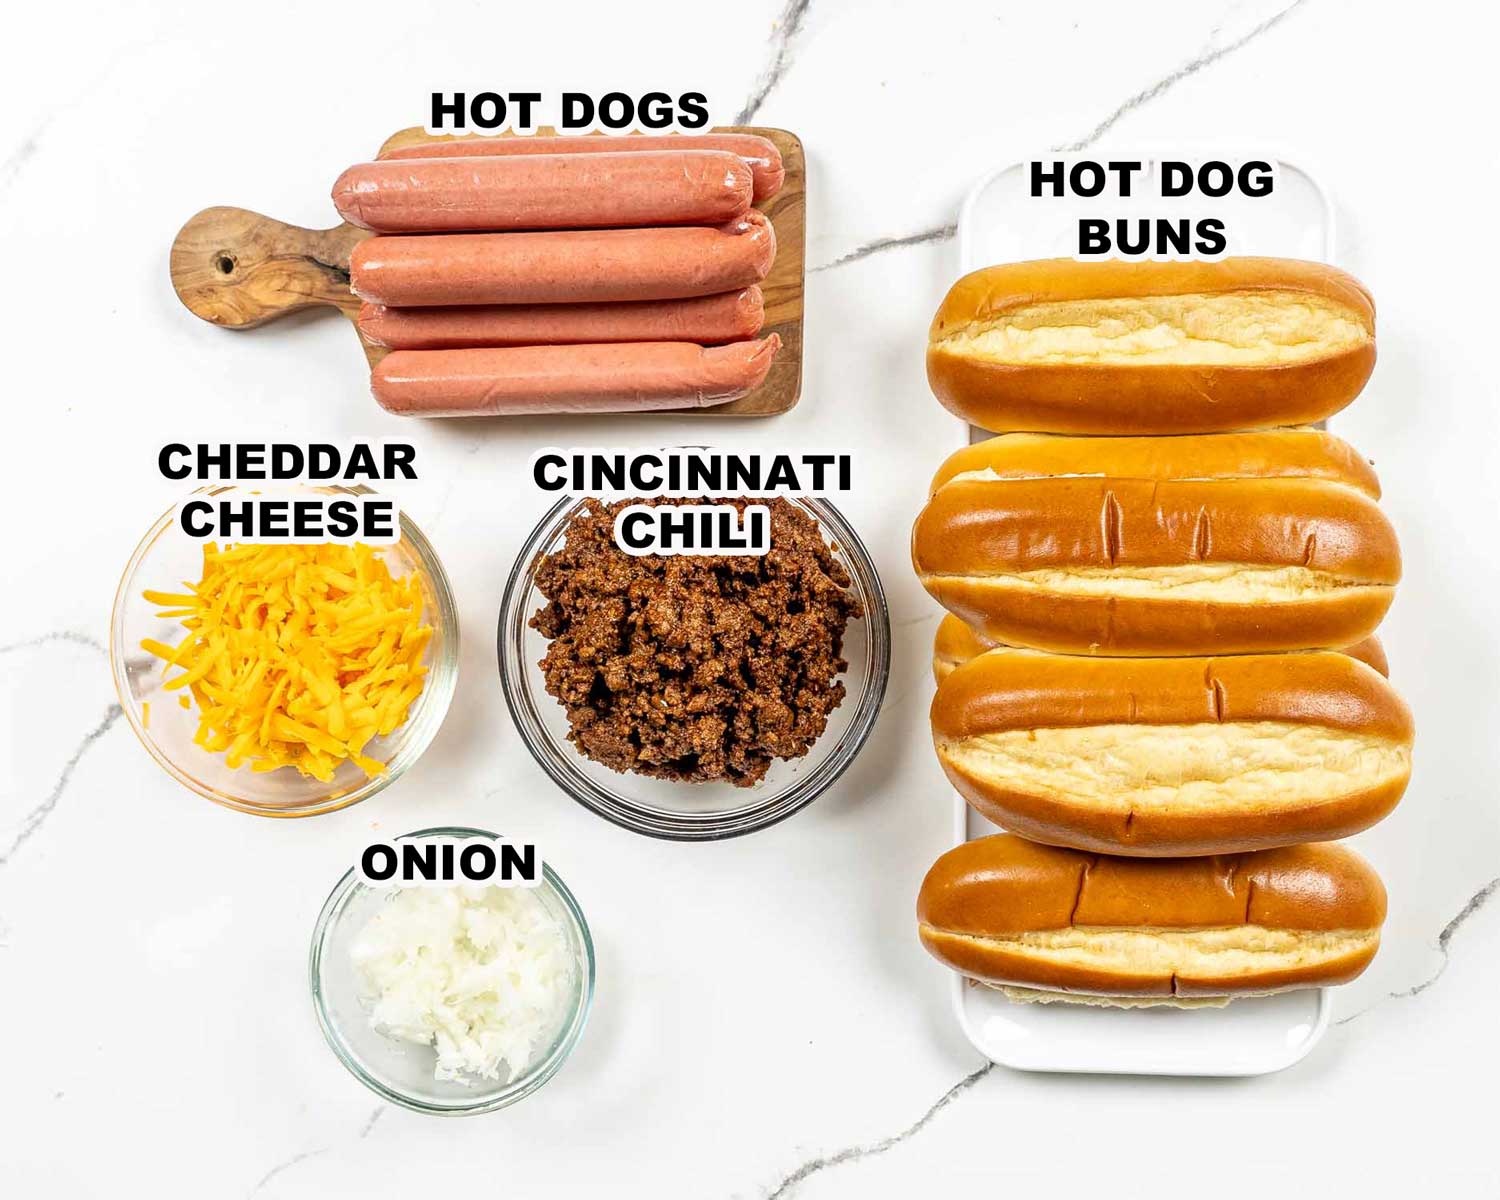
Ingredients
- 6 hot dogs
- 6 hot dog buns
- 1½ cup Cincinnati Chili
- ¾ cup cheddar cheese (shredded)
- ⅓ cup onions (chopped)
- mustard (optional)
Before You Begin! If you make this, please leave a review and rating letting us know how you liked this recipe! This helps our business thrive & continue providing free recipes.
Instructions
- Preheat your grill or grill pan to medium-high heat.
- Grill the hot dogs for 5-7 minutes, or until they are browned and heated through.
- While the hot dogs are grilling, heat the Cincinnati chili in a small pot or microwave.
- Toast the hot dog buns on the grill for 1-2 minutes, or until they are lightly browned.
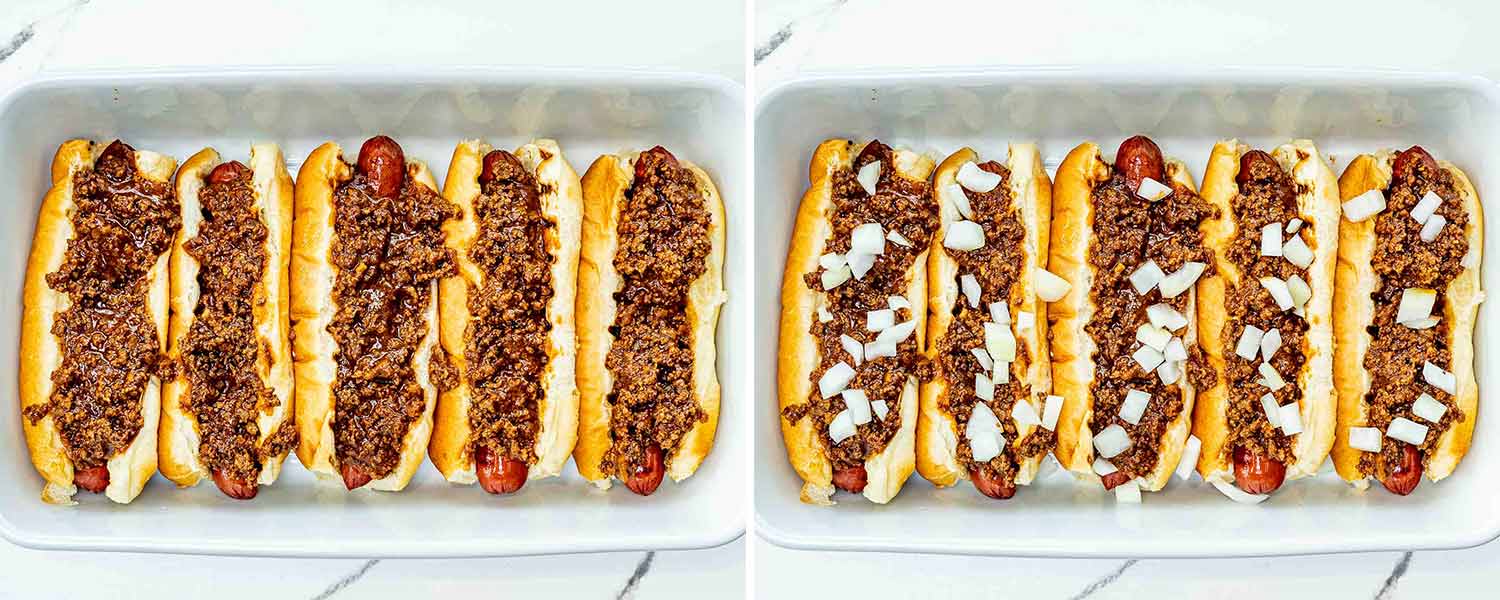
- Place a grilled hot dog in each bun and top with a generous amount of Cincinnati chili.
- Sprinkle the shredded cheddar cheese and chopped onions over the top of the chili. Add mustard, if desired. You can also place the chili dogs under the broiler for 2 to 3 minutes to melt the cheese, if desired.
Notes
- Grill or pan, both work: Use a grill pan or skillet if your BBQ’s on the fritz (or run over in the driveway, true story).
- Toast the buns: It’s the easiest way to keep things from getting soggy.
- Broil for extra melt: Once assembled, pop them under the broiler for 2 minutes to get that cheese bubbly and irresistible.
- Make the chili ahead: It gets better overnight, so it’s perfect for prepping the day before.
Nutrition Information
Notice: Nutrition is auto-calculated for your convenience. Where relevant, we recommend using your own nutrition calculations.
